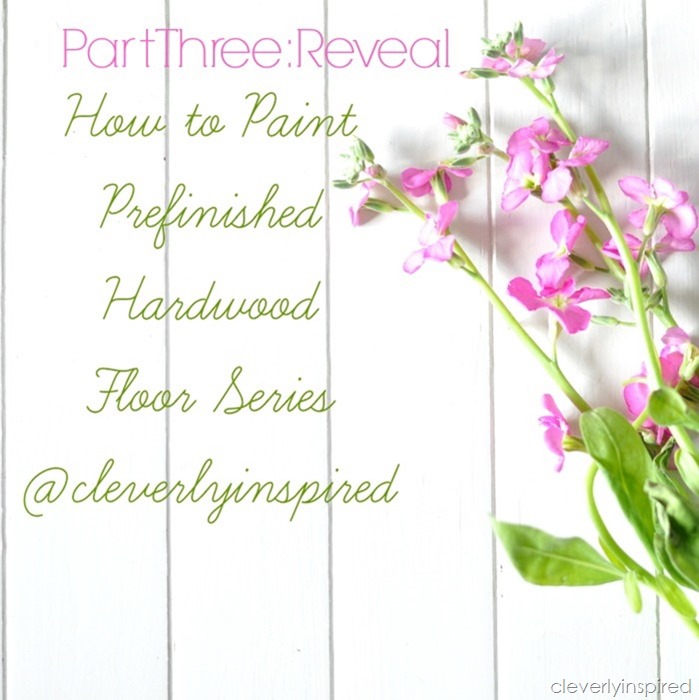
Well, our new white pine wide plank floors are laid and they are gorgeous! Sanding was almost finished today…and our house smells like a “Carolina pine forest…” (name that commercial). Any who, we are in love! They are so stunning and perfect for our bedroom and my office. I have been sharing some pics on Facebook and Instagram…and I will share some here a bit later this week. Thanks for all your excitement…it is really coming together beautifully.
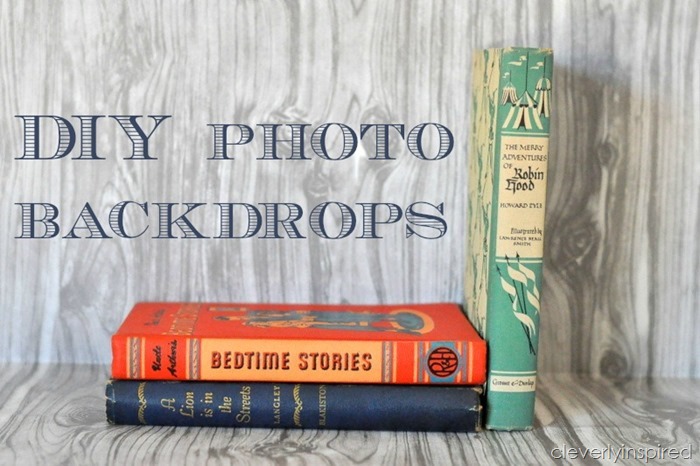
Last week, I shared a few favorite tips for styling a photograph. I wanted to follow that up by showing these easy and cheap backdrops that you can make in a minute. They store easily and you can make a bunch for a little cash.
cv")
I found some of the prettiest gift wrap at TJMaxx….I thought it would make such a pretty backdrop for photos. I made some backdrop boards with some foam board from the dollar store and some glue. Really quite simple, I know you don’t need me to explain…but here is how I went about making them.
")
I cut the wrapping paper to the size of the board and made it overlap by half the length of the board. That way I can tape the paper up on the wall to have the background be the same as the surface. I would caution to not use a lot of glue or the paper will pucker. I just glued the edges with rubber cement. The nice thing about these boards is that I can just slide them into a narrow space when I don’t need them and they will not get creased or damaged.
")
Oh the possibilities! I would check your local TJMaxx or Homegoods….I have found several there for only 2.99 a roll!")
Sharing at
Home stories A to z, Blooming Homestead, Serenity Now
I love it – Im definitely going to try to find some great paper to make my own. Thanks for this tip!
Gorgeous! I thought I was being genius by getting a huge roll of white paper at the dollar store and taping it to my wall. This is super beautiful. I’ll keep my eyes peeled!
I love this idea – fabulous! Am pinning this and keeping an eye out for pretty wrapping paper!
I wanted to let you know that I featured this in my “What I Bookmarked This Week” post today – stop by and see!
Here’s a couple additional tips on the same subject:
If you let the paper just “roll” into the corner rather than crease it, the corner will disappear altogether in the photo.
Also, cover some 2×3 foamboards with silver foil and gold foil papers to use as bounce reflectors. These will produce either “hot” lighting or very “warm lighting effects using either natural sunlight or flash!
Love,
DAD
Great tip!
Love this! Thanks so much for linking up. I’ll be featuring this on my party highlight post this weekend!
-Marie
What a clever idea! Love that wrapping paper. I hope I can find some. :)
Thanks for sharing. :)
This is so cool, Tracie! I picked up a couple rolls of pretty wrapping paper from TJ Maxx recently with no idea what I’d use them for. This is a great idea!
Thanks so much:)
[…] nicely in the room. It is on wheels and the top is Carrera marble tiles…yum:) It holds all my photography backdrops and has shelves on both side for pretty baskets (still looking for a few containers to finish it […]
[…] designed one out on paper and decided to build it ourselves. The goal was to have a place to store photo back drops, have a nice smooth surface to craft and take photographs, have some storage on the sides and be […]