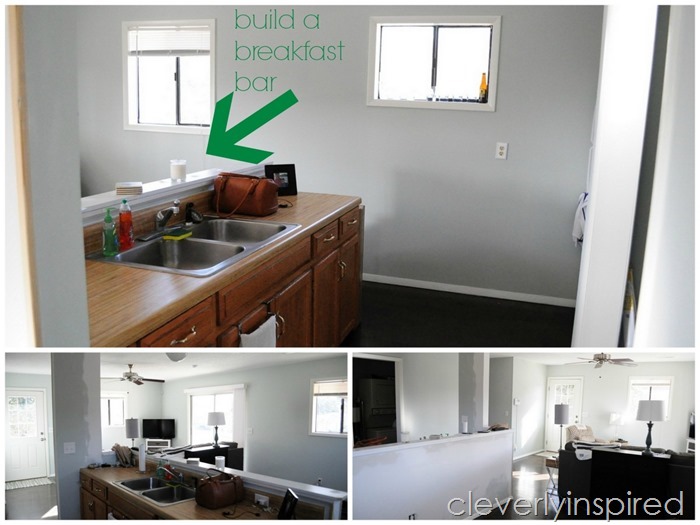
Homearama is officially here! Somebody wipe my brow;) I am happy with how it turned out….very proud of some of the features of this home. For the next few weeks I will be sharing with you some behind the scenes stuff along with all the pretty pictures. If you are coming to Homearama please stop by house #15 to see me this weekend!! My local photographer friend April Tobbe Photography was a gem and photographed the whole house! If you see the house in person, she also supplied some of my wall art—some gorgeous folks that she has photographed in the past.

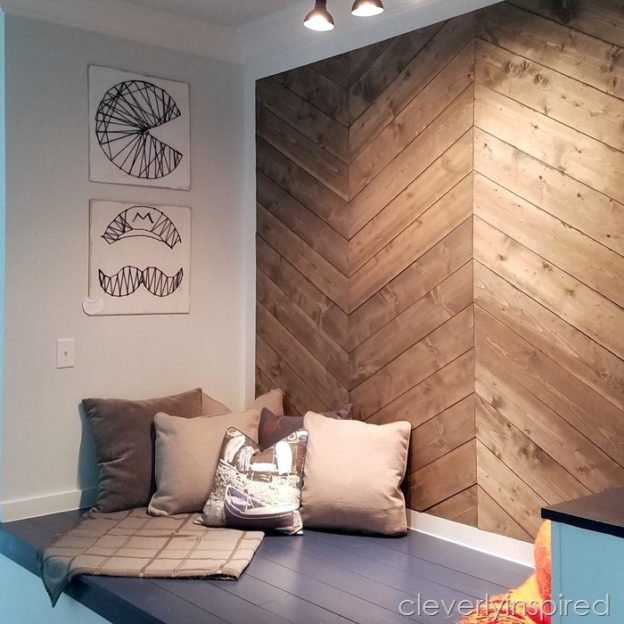
This DIY yarn art can be changed up to fit your needs. I decided to use fairly easy shapes….which I think is a good idea on your first go at it:) I looked at a picture of Mario that I found online (search Mario stencil to see images). I took some chalk and sketched it out on the board free hand. I know that sounds intimidating to some of you….but just go for it! Obviously the PacMac is a wee bit easier since it is just a circle with a triangle:)
What you will need to create your art:
- 2 x 2 birch plywood
- chalk paint in white (can find this at most craft stores)
- brush
- sand paper (I used a sander 100 grit)
- wire nails (I used 1/2 by 19)
- hammer
- yarn in colors of your choice
- template or stencil of choice and colored chalk to draw it
")
First thing you need to do is paint the boards…let them dry and then sand off the edges….make them look a bit rough.
To create the PacMan I found the center of the board and placed a nail. Wrap a piece of yarn and drag a circle with chalk. Now you have a guide for the outside of PacMan’s head (draw a v shape to create mouth.)
")
After you have the shapes traced out you can start hammering in the nails. I hammered mine in about every 1/4inch or so. Leave some of the nail for the yarn to loop around.
To start with the yarn….tie a knot to one of the nails and start to loop around other nails creating your pattern. There is no wrong way to do this….just start zig zagging back and forth and lopping around as you go. You will need to keep the yarn taunt as you go. I cut off pieces of yarn in about 40 inch pieces. I would use up that piece and tie a knot and start again.
I hope that makes sense:)
I will take some more pics of the finished space this weekend and share on insta again.
Be sure to shout out #homearamahouse15 if you visit the house! I would LOVE to see your favorite things from the home:)