Thanks yall for all the sweet comments about the kitchen. We are really enjoying the light filled space so much :) I know that you all had some questions about the wood counters and the pantry cabinet. Here is a little post about how we went about replacing the pantry. I apologize for the lack of pictures…sometimes my hot trim man moves faster than I think he will ;) Please comment if you have an questions and I will be sure to try and answer them…
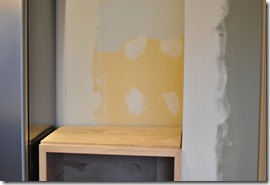
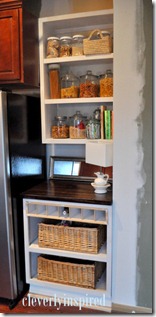
As you know…we are in the mist of our kitchen update. I have shown you the countertop…and the removal of the pantry so far. Here is what we decided to replace the pantry with….and how we installed it. Also, wanted to point out…the countertop cost ME $10…if may cost you a bit more. I had many of the materials on hand from the coffeebar project. There were some comments and confusion about that so I wanted to clear that up. Even if you have to buy a small can of stain and poly…you are still well under the cost of most countertop materials. Hope that makes more sense..;)
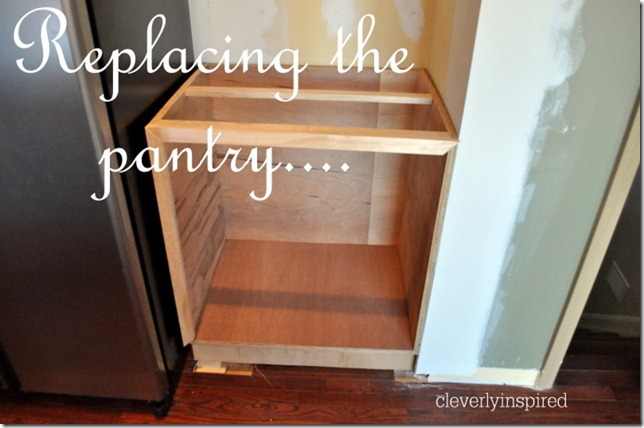
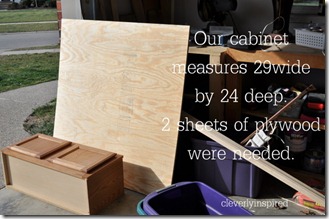
We built a base cabinet. Ours measures 31 wide by 24 deep. We used 2 by 4’s and 3/4 inch plywood….
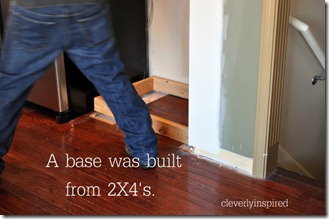
Bill built a base out of 2×4…we loosely followed Ana White’s plan for building the base unit. I didn’t take pictures for some of the construction (sorry, bad blogger!!) But Ana White has some very detailed and easy instructions!
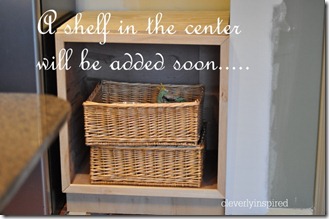
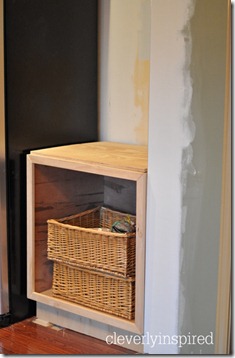
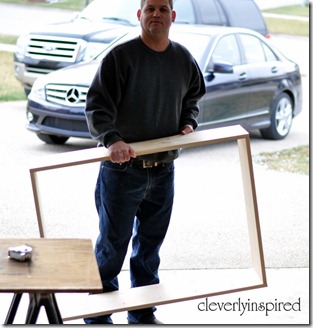
Then for the shelves above….we thought the easiest way to make it would be to build a basic box….then add shelves that could be moved if necessary…
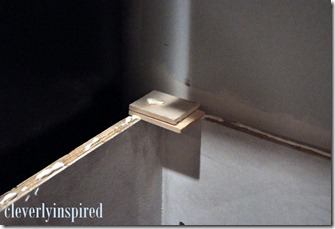
Bill first made a template and measured for the holes. We used some shelf clips that can move to any of the holes on the inside of the cabinet….The constructed box was installed using screws in each of the top two corners drilling sideways in to the wall…
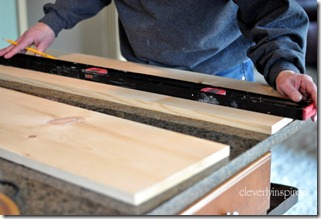
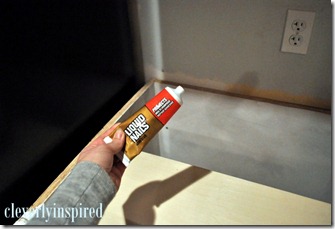
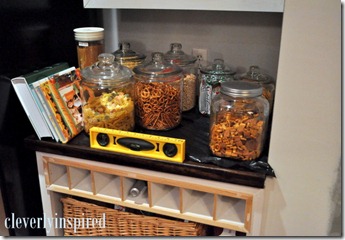
We used some liquid nails to glue the countertop to the base cabinet…weighted down with heavy object overnight. Shims may be needed to level the countertop….We also used screws in the back corners of the counter to be sure it would remain level. As I have said before….a perfect straight piece of white pine may be hard to find. The straighter the boards…the easier your installation. Liquid nails and screws was all we needed for our small counter and in most cases I think would work fine.
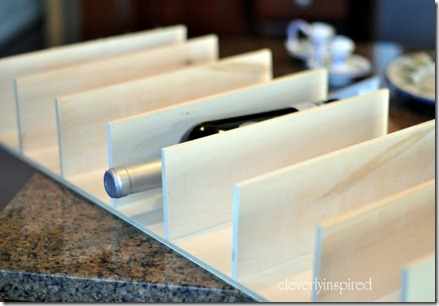
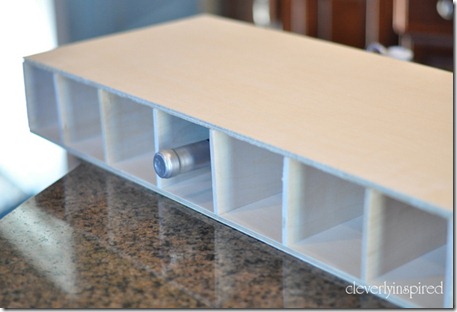
We thought it would also be a great spot to hold some wine….so Bill made this handy dandy wine container. He used birch and wood glue….and a staple gun to secure the pieces upright. A couple of 1X2’s hold it in place in the cabinet….
Sorry I didn’t take more pics of the process….hope that all makes sense. :) Email me if you have questions!!
Thanks again for your sweet comments!!

Hi ,
I will like to know if you can make or order the cabinet below for me.
Details
Type of Cabinet: Base Cabinet
Size:33″ W x 34 1/2″ H
Wood: Maple
Finish:Unfinished
Door: Slab Panel Door
Drawers: Two Drawers above the doors
Quantity Needed:10 Alike Cabinets
If you can make or order the above cabinet with the specifications,
please email me with the total cost for order above and also advise me on the method of payments that you accept.
Hope to hear from you soon.
Pastor Robert.