Today I would like to introduce a sweet bloggie friend of mine…Jessie from Imperfectly Polished. Her diy projects are so creative and fun! I am sure you will love her! Thanks Jessie for visiting…:)
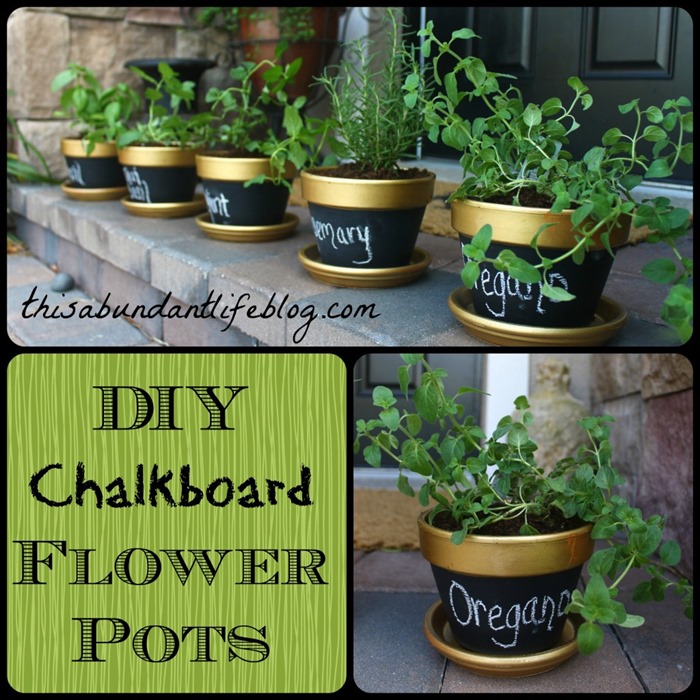
Here are a couple of my favorite projects she has completed in the past…


Here’s Jessie :)
When we recently made over our dining room on a tight budget, I tried to come up with a way to DIY some art work on a large scale that wouldn’t cost much. I started by wandering the aisles of our local home improvement store to see if I could find something that would work. Enter these 2’x4′ pieces of wood we found at Home Depot for $6 a piece.
 I had the nice man at Home Depot cut each sheet in half so we ended up with four 2’x2′ pieces of wood {cork board or even thick foam board from a craft store would work as well}. I only needed three of them for this project so we still have one left to play with another day. I bought some inexpensive muslin fabric to cover the boards with {they were kind of rough}.
 You can see where there was some weird, discolored parts on the board so you would either want to paint it {which may or may not cover all the imperfections} or cover it with fabric. Then I stapled it in place:

I did the same thing with all three boards.

Since this is a dining room {ya know, where we eat}, I wanted some fun dining-themed art and huge pieces of silverware seemed perfect. Since neither of us are super artists, we didn’t think free-handing silverware would look all that great {I’ll admit, the fork had me nervous} so we started brainstorming other options. I have to give my husband credit for this one: a flashlight and piece of silverware.
 It worked perfectly. We sat in our bedroom and traced away. Mike laid the light on the bed and held up the silverware while I took a pencil and traced around it. Pretty cool, huh? Then I took the boards into the kitchen and painted them by mixing a couple colors I had on hand {a light gray and black} to get a charcoalish color.
 Then I sat the boards up to dry for a little bit.
 To hang them, we used some little hook thingies we had in a kit we had on hand.
 And Mike hung them from a nail in the wall.
 Aren’t they fun?


You could use the same method to trace all kinds of fun shapes for different rooms {a toothbrush in the bathroom, hair accessories in a little girl’s room, toy cars/trucks in a little boy’s room, etc.}. Oh, and the best part was the price. We made all three pieces of oversized artwork for $12. Pretty good, right?
I love this!!! SO perfect for any room because the possibilities are endless!!! Thanks Jessie!

Thanks so much for having me, Tracie!!! xoxo