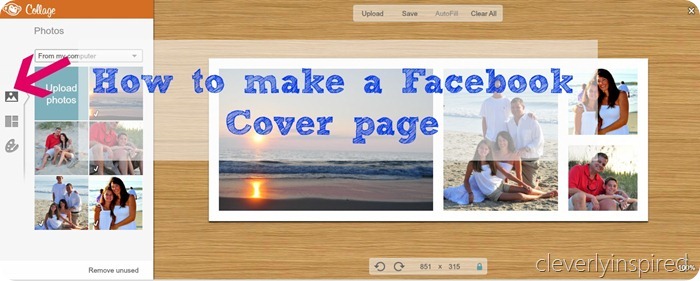
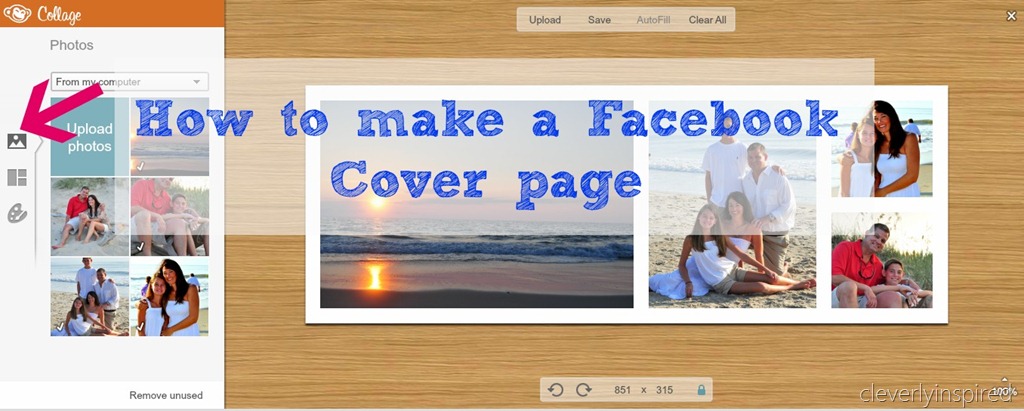
My love for the free website PicMonkey is large….it is how I place text on all my pictures for the blog. It is simple, free, and quick. I wanted to show you a quick and fun way to make your own Facebook cover picture for your timeline.
Go to PicMonkey….this is the first screen you will see…

Click on the bottom box that says “Create a Collage”…..
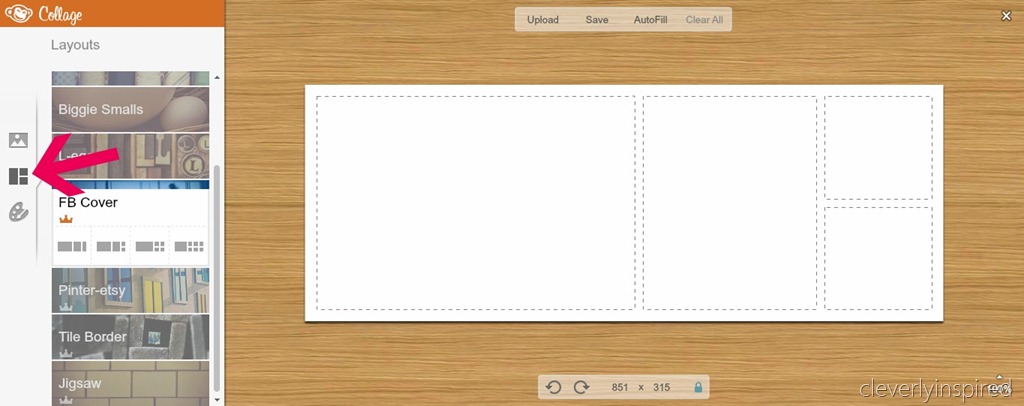
This is the screen that will pop up. On the far left you will see 3 “buttons” . The first is a “mountain” (where you will upload your pictures you want to use for the picture) Click on the 2nd button, where the arrow is pointing.
You will see several choices for the layout. Choose one by clicking on it. Now you will have a template on the screen (mine above is a 4 picture template)
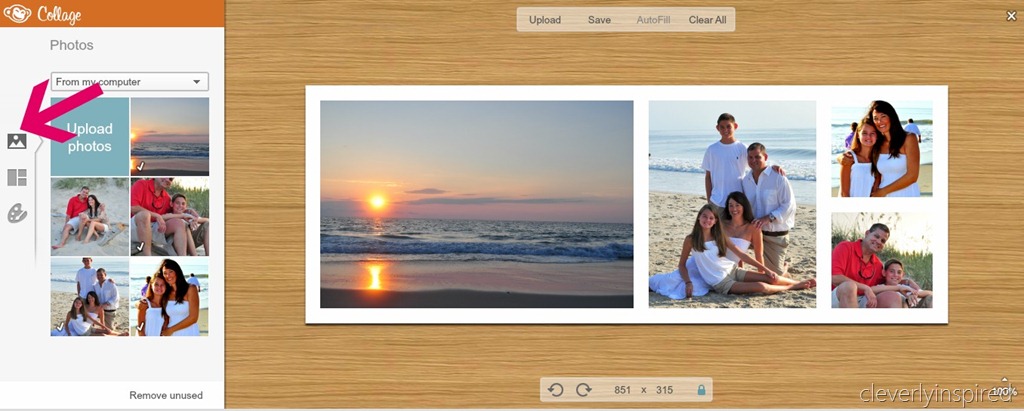
Go back to the first button (the mountain looking picture) and click on Upload Pictures. A box will pop up for you to select your pictures off your hard drive. Select the pictures you want and upload. You will see your pictures on the left side after the upload is complete. Click and drag the pictures into the template. That’s it!! On the top of the page click save. Save the file on your computer…and upload that file onto your facebook cover page. Easy!!!
Here is a link for PicMonkey
(not a sponsored post…I just really love this website :)




[…] site: How to make a Facebook Cover picture for your timeline – Cleverly … This entry was posted in Facebook Cover News and tagged chetans, cleverly, cleverly-inspired, […]
I love PicMonkey also but I’m struggling with getting the size right. My collage is too big for my fb and I can’t seem to get it sized down!!! I use their collage builder for any posts I put on Hometalk also!
Thank you sooo much!!!