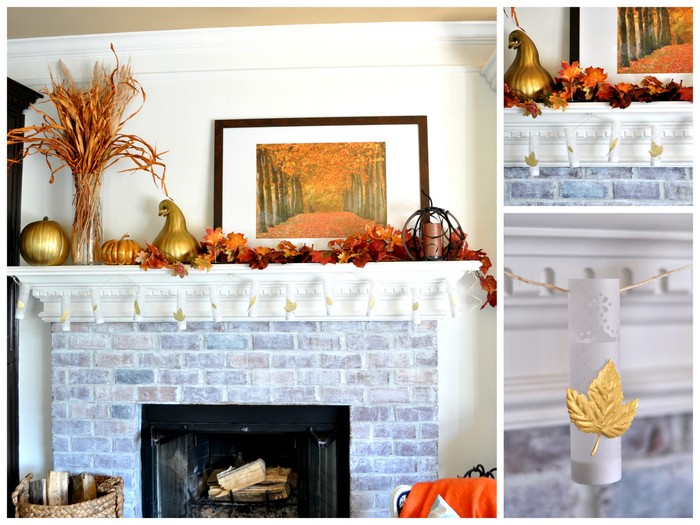
Hey it’s Friday!! Whoohooo! Ready to get your Fall on this weekend?? Here is a fun Saturday project…that will have your mantle ready…and last all the way through to Thanksgiving. Enjoy! My mantle was already looking pretty “fall like”….but of course I had to fuss with it a bit after I thought of these fun little mini luminaries. I am not much on decorating for Halloween so these are mainly “fall inspired”…and I can use them year after year (if I am sure to pack them up nicely:) They took about 20 minutes to make and really there are so many ways you could use them….on a plate for a table scape…bunch them together and hang them from a ceiling light…place them down your hallway of some fishing line. They were really inexpensive to make too….so you could make a bunch more! 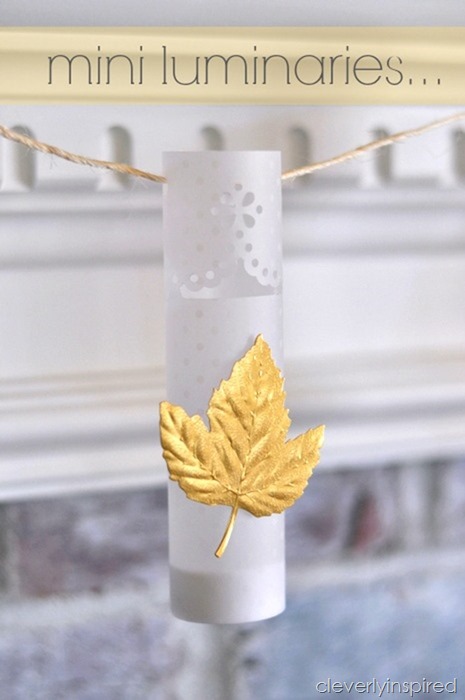
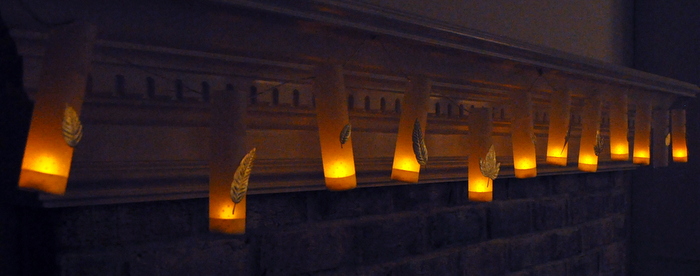 Don’t they look so cute all lined up on some twine….
 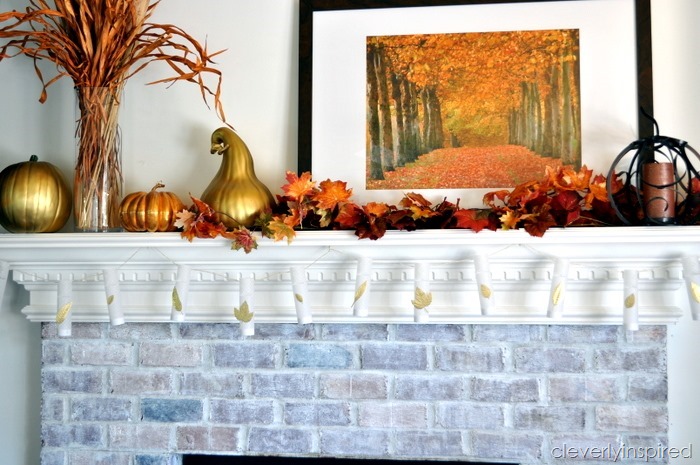 ohhhhh ahhhhhh all lit up! (best pic I could get while being super lazy without a tripod;)
 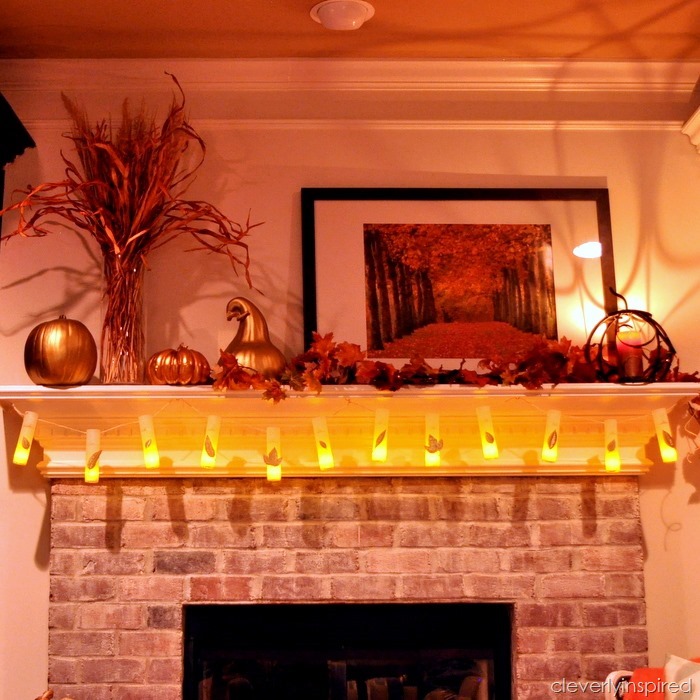 I ended up getting my “candles” on amazon.com (Here is the link…fyi it is an affiliate link..all that means is if you purchase from that link I get like 2 pennies…) I thought that 12 for $8 was a great deal…plus they already had batteries. Package says the batteries last for 120 hours.

 Once I had my candles I was ready to make the mini luminaries. Martha Stewart crafts has sent me a few products to play with…I used the paper punch for the top of the luminary. I have never used this crafting tool before…very very cool how it works. Lots of fun “punch plates” to interchange…
 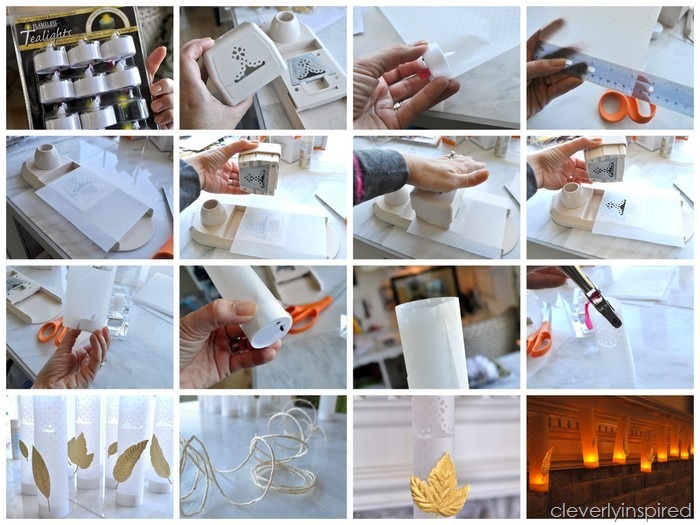 Here is what you will need:
- 3 sheets of 12 by 12 vellum paper (mine had little dots)
- Martha Stewart gold leaf stickers
- twine to string the luminaries
- scissors
- battery candle lights
- hole punch
- Martha Stewart circle edge punch starter kit
- scotch tape
Steps: 1. Cut the vellum paper into 5.5” by 6” pieces. 2. At the center, top of the paper, punch your design. 3. Wrap the paper tightly around the candle and tape…allowing your tape to cover a little part of the bottom so that your candle will not fall out when you hang it up. 4. Tape the top of the luminary. 5. Punch two holes opposite each other on the top so that you can run your twine through. 6. Place your gold leaf stickers. 7. Cut twine to fit your mantle (or wherever you are hanging it). 8. Thread your twine through the holes in the luminary. 9. Hang up and enjoy all fall! 
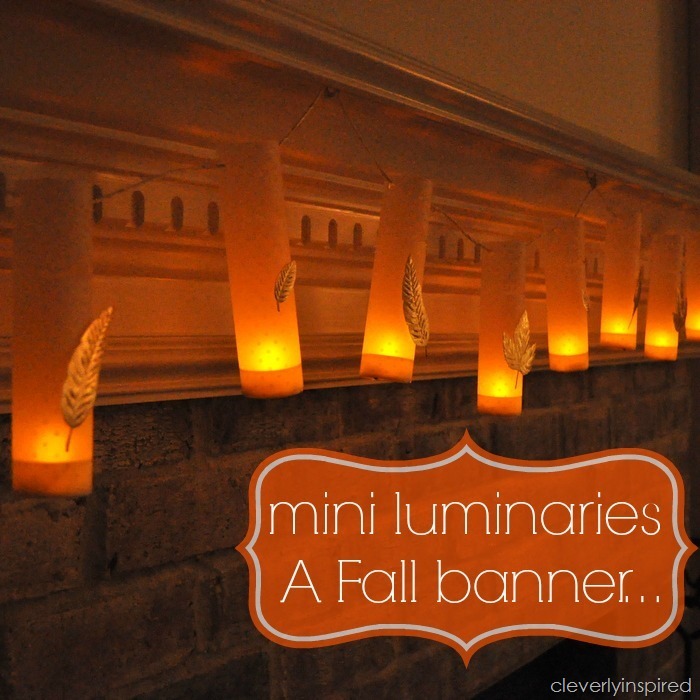 Go make some this weekend:) Where I share ideas: BeDifferentActNormal, The36thAve, Whipperberry, TipJunkie, Tatertots&Jello, TodaysCreativeBlog, SerenityNow, PositivelySplendid, ByStephanieLynn, TheDIYClub, CRAFT. MadinCrafts. HomeStoriesAtoZ, InspireMePlease, 30Days
I am a brand ambassador for companies that I believe my readers are interested in learning more about. I work with Social Spark and Clever Girls, along with individual companies that are targeting their products to my readers. I will always be mindful of your time and needs…and keep with the mission of CleverlyInspired; which is to inspire you to be clever in your own home. I appreciate your understanding. I have been given product to review in this post, however all opinions and thoughts are 100% mine.


Sooooo pretty! Seriously, I want your mantel. Ha ha. I can’t wait to decorate mine for fall! Love the mix of gold and natural elements : )
Thanks girlfriend! So pumped to watch your new home grow:) xo