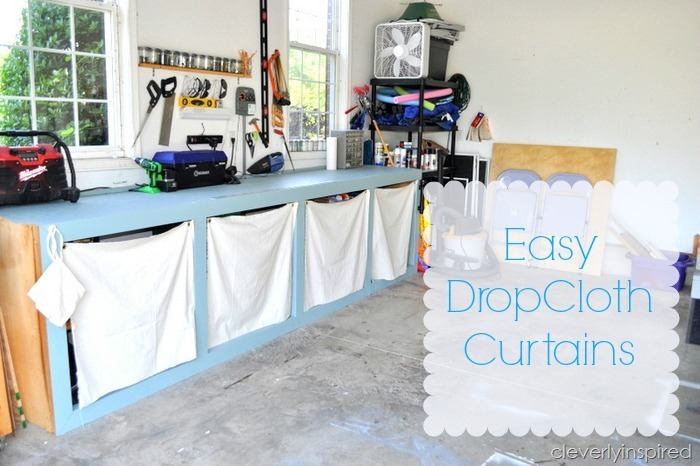
Hey! How are you all doin?? We made it to Friday and through our first week of school. Summer is officially over here…so hopefully I will have a bit more time to share some fun things with you. Back when I did the mini garage makeover…I decided to throw a coat of paint on the workbench. It was such a big improvement I decided to keep going. I love how easy these curtains are to create…and they make all the mess just disappear. I thought I would share a couple of little tricks that helped me along the way….
Supplies:
1 large drop cloth (can be found in the paint dept. at your local hardware store)
Grommet kit (can be found in the tool dept.)
WD40
Piece of Scrap wood
Hammer
Scissors or sharp razor blade
Sharpie
Steps:
- Cut and measure your drop cloths for the size opening you are fitting the curtain to.
- Mark with a sharpie where you would like the grommet to be placed.
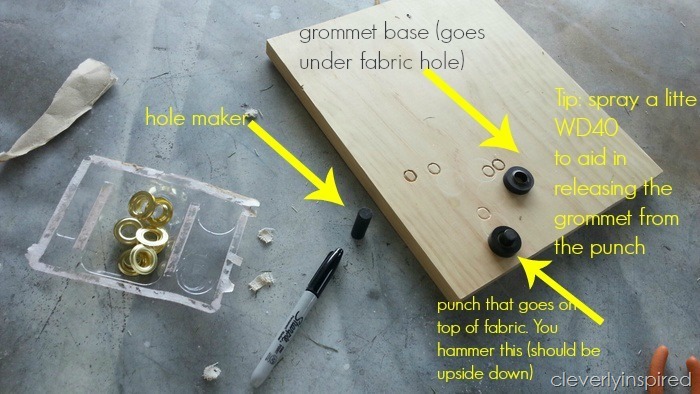
- Use a hammer and grommet hole maker to punch through material where you marked with your sharpie.
- Using your grommet kit…insert the tall piece of grommet through the underside. Stack the grommet, fabric on the base tool.
- Place the punch tool on top and hammer with force. Prior to hammering….spray a slight amount of WD40 on the base….this helps to release the grommet from the base after you have hammered it together.
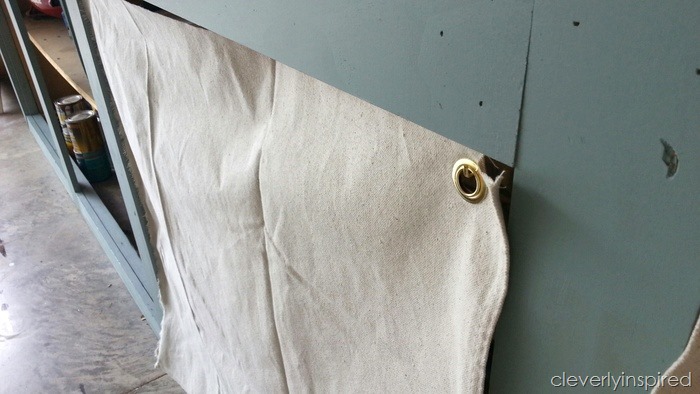
Hang a few hooks and you’re in business! Easy way to have a polished look…for little cost ;) I hope you have a great weekend friends…
Here is another article that may be helpful….


