I am in full disclosure that Easy Closet has sent me this closet system to review and give my honest opinion. I have been compensated for time and efforts in writing this blog post.All opinions about this product are 100% my own.
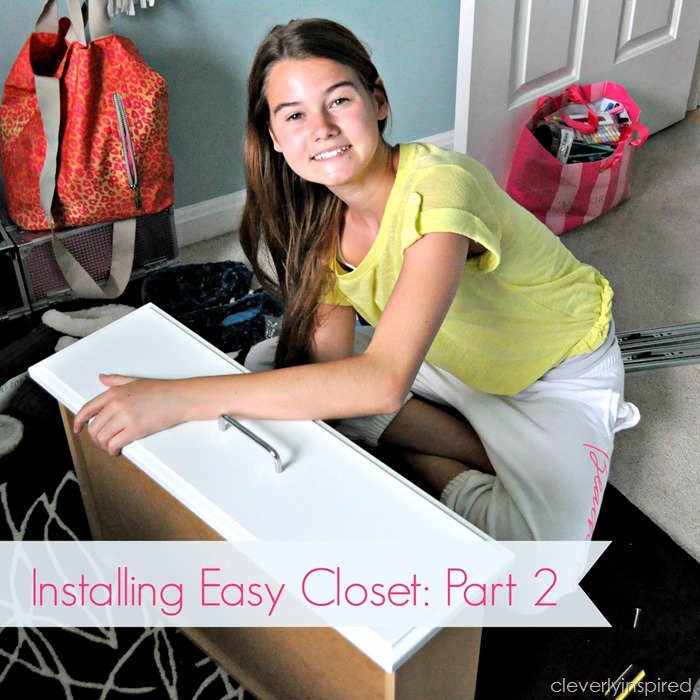
Hey yall! I told you about our grand closet plan for the peanut’s room. It is really coming together quite well. We worked on it together this past week and the organization is making a world of difference in her space. We both made some notes as we went along…incase you are wanting to tackle this project too….
cv")
Here is what we came up with …
Pros
- Perfect packaging and labeling. I knew exactly what was in each box prior to opening it. The hardware was very well packaged too….every bag marked. No time wasted figuring out what screw with what cabinet…etc…
- Very well built..solid construction.
- Love the design that we came up with. It is a perfect use of this smaller closet.
- Direction booklet is specific to your closet….you don’t waste anytime looking at directions that don’t pertain to your closet.
- I loved the fact the that drawers came built. Some other systems I have installed required you to build your own drawers.
")
Cons
- Measure twice. My closet came in 20 inches wider than the actual closet…it is imperative to have good measurements. A few things had to be resent to me…but they were sent quickly and without delay.
- Directions for attaching rails to to the drawers are a bit unfinished. The rails come shipped together and you need to separate them so that you can attach one rail to the closet system and the other to the drawer. It states that you should be able to just pull these rails apart when you actually need to push the little black flap down to separate the rails. Minor point, but we did spend about 10 minutes trying to get the first one apart.
Tips that will definitely help you:
- Dip screws into candle wax to make them ease into wall and wood easier. I used wax on every step. It makes driving the screw in so much easier and prevents the dreaded stripped screw!
- Be mindful of this…not every shelf attaches to the system the same. “Cam” shelves are supporting shelves…”regular” shelves are placed with shelf pins. I had installed 2 “cam” shelves before I realized the other shelves just “float” in place and are adjustable. Cam shelves will be marked differently on your diagram so just pay close attention to that.
- Use chalk to mark your track placement and where your studs are. Use a long level and make your chalk line so your track will be level.
- I made sure I was in the center of the stud by driving in a finishing nail to mark it.
- Also, be mindful of where your vertical supports will go…try not to place a screw into the rail right behind a vertical or it will not rest against the wall correctly.
I installed this closet completely on my own. My 13 year old helped with the drawers and that really helped to speed up that process. My hubs says that it was the best Father’s Day gift ever that he didn’t have to help:)
It took a half day to start and another half day to finish. I did have to cut the metal rail that attaches to the wall to achieve a proper fit. I wouldn’t say that rail cuts “easy”….I used a combination of a handsaw and my dremel. That took about 30 minutes to cut. Just plan on that and plan accordingly. Ideally, you won’t have to cut any rail…but you may need to order it that way. Chatting with the designer online will help curb the amount of cutting needed.
We can’t wait to show you the difference this closet system has made in her room! So much better than before:)
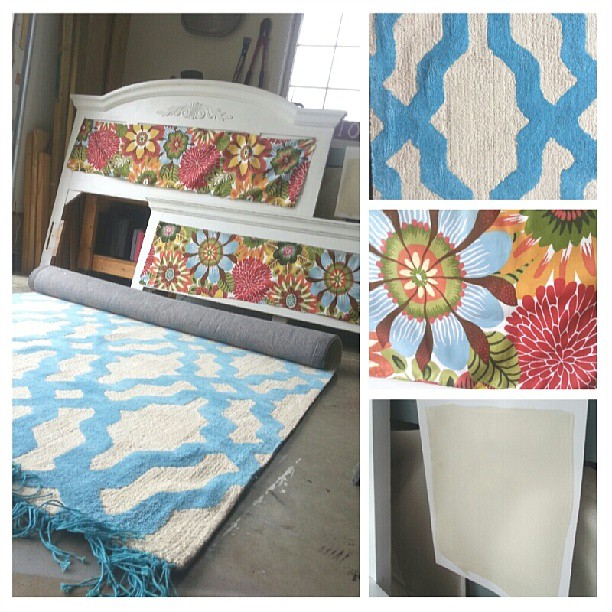
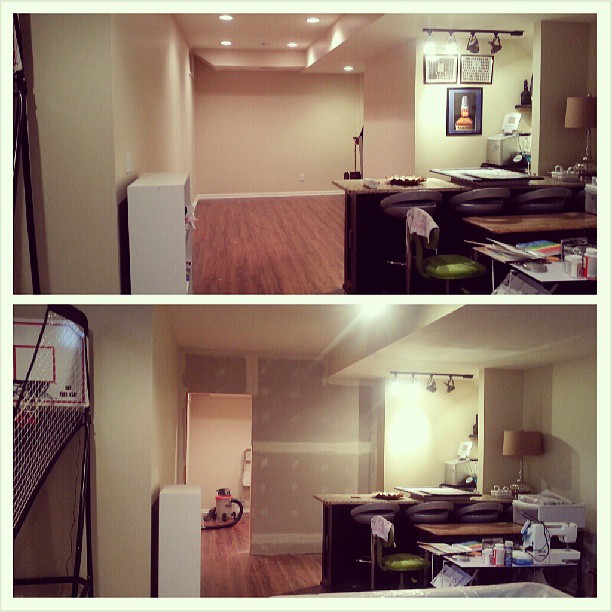
Also…here are a couple sneak peeks into the guest room basement project….:) (On instagram you can see more search #cleverguestroom)
Have a great weekend friends!