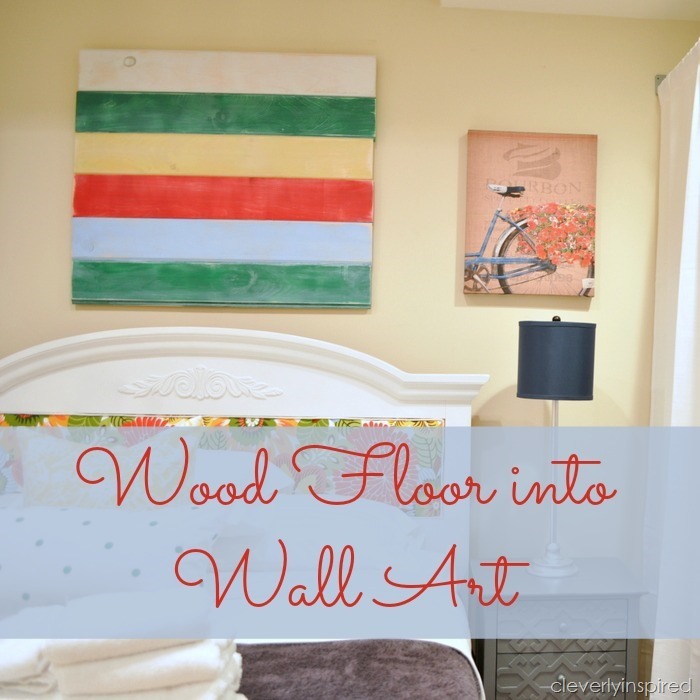
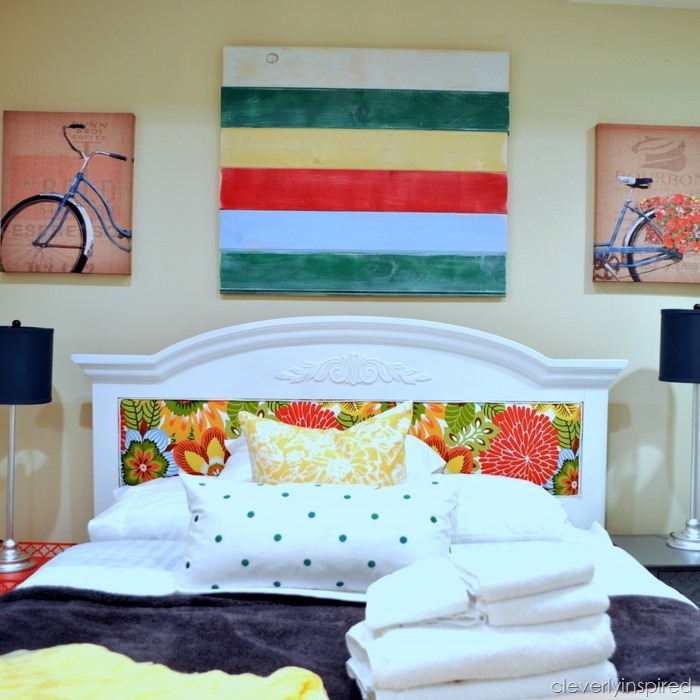
You know that I hold onto things….things like random pieces of flooring. About 5 pieces to be exact. They were laying in the garage…collecting dog hair and debris…it was time to clean them up and put them to good use. And so they became wall art for the guest room…#boom…. Here is how I made it…
Now don’t go all crazy on me….if you see a miter saw…don’t run the other way. If you don’t have an electric…go buy a new hand saw and $3 miter box , you are good to go. Pine is the softest wood to cut through…so use pine boards if you don’t have any pine flooring laying around.
Supplies:
6 pine boards cut to 32inches (or as wide and you want your art to be)
Wood glue
2 brace pieces for the back (I used a thin 1 inch trim piece that I had already)
4 wood screws
sander
choice of spray paint
watered down white paint
old rag
How to:
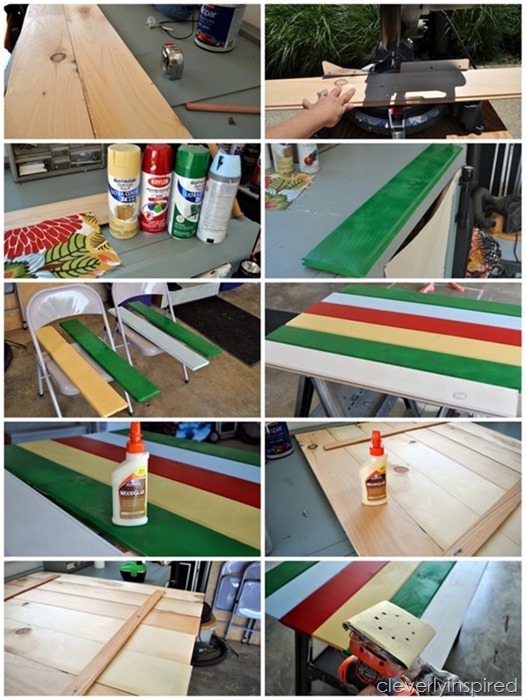
1. Cut your pine board to the length you want your art to be.
2. Spray paint each board the desired color. I used up all my left over spray paint (weird that my colors on hand all matched the fabric I was trying to compliment…bonus!)
3. After paint dries…find a flat surface and place glue in between the tongue and groove on the flooring. Tap together with a hammer. If you are not using flooring and your boards are flat you will most likely have to glue them together upside down (so that the back is facing you) and then immediately screw your bracing in so that the boards are forced together)
4. When the glue dries the piece will be one and you can screw you trim on the back to brace it.
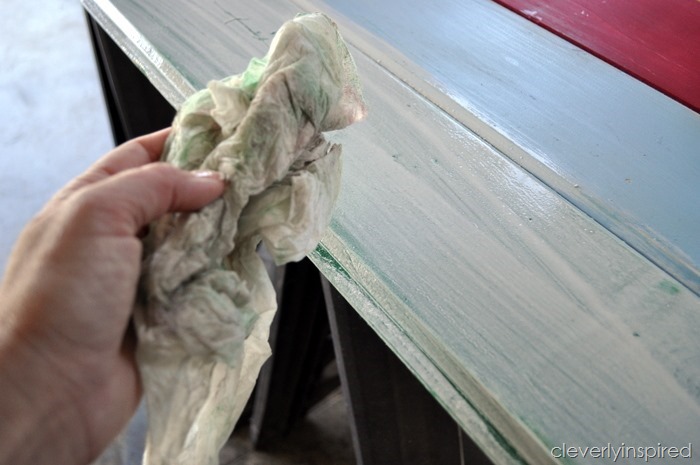
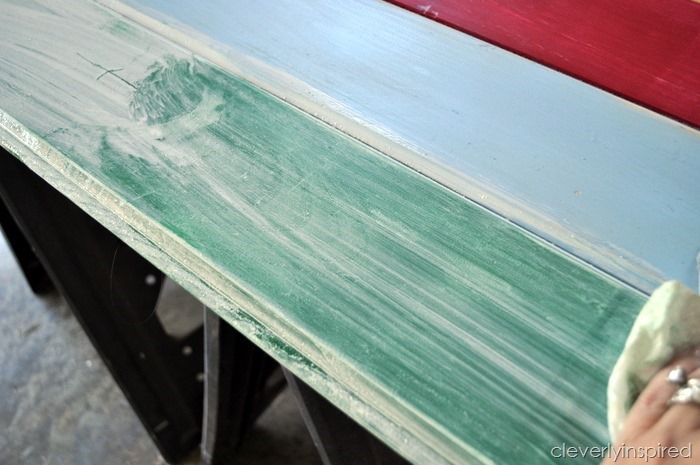
5. Water down some white paint and brush on the front. Wipe away excess.
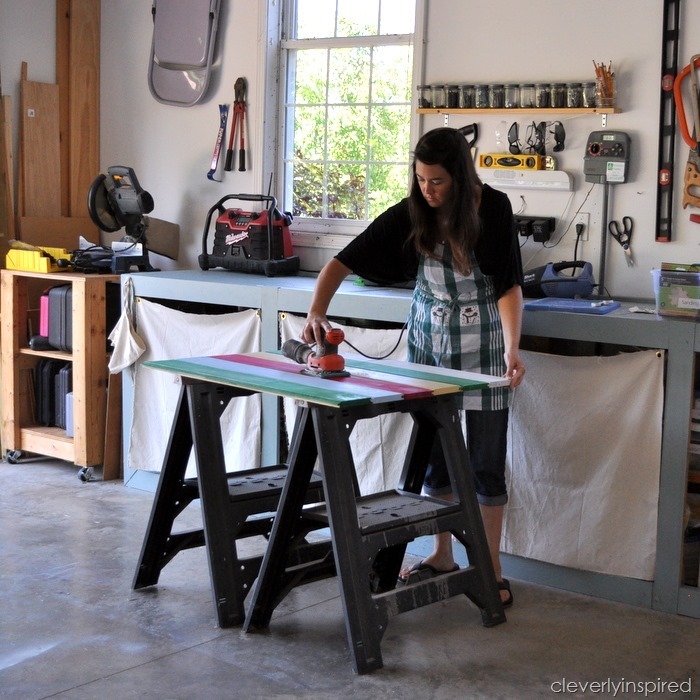
6. For a more weather look…sand down the entire piece to age.
Hope that makes sense….
My Christmas apron…I’m hot like that….moving on….
I hung it up by attaching a wire to the screws on the back. Place a heavy picture hanger on the wall and you are all set. Not bad for basically free….:)
More GUEST ROOM POST
Sharing:
BeDifferentActNormal, The36thAve, Whipperberry, TipJunkie, Tatertots&Jello, TodaysCreativeBlog, SerenityNow, PositivelySplendid, ByStephanieLynn, TheDIYClub, CRAFT. MadinCrafts. HomeStoriesAtoZ, InspireMePlease, 30Days, Remodelaholic
This is such a cute idea! Those colors look great together