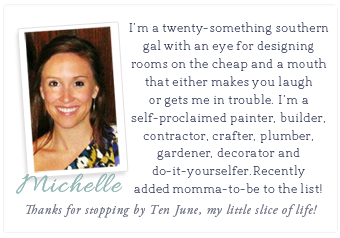
I am really excited to have Michelle from Ten June visiting here today! Michelle’s blog is FULL of fun projects and decorating ideas. She is so creative…so lovely…and just a gem of a girl. I have read her blog for a little over a year now…and I had a blast meeting up with her at the Haven conference. We were immediate friends…very similar people (she totally got my humor right away…:) We were laughing all night!
So annoyed we forgot to get a picture together….but there’s always next time!
Please give a warm welcome to Michelle…and be sure to follow her blog…she is always up to something good!!
Helllooooo all of you Cleverly Inspired folks! I’m Michelle, popping by from my blog
Ten June. I’m really pumped to be stopping by today… Tracie and I have a lot in common, like our love for home decor, DIY projects and standing awkwardly in the corner of a room full of strangers.
Wait. What?
I had the awesome pleasure of meeting Tracie at the Haven conference in Atlanta this year. The very first night, she and I sort of teamed up and faced the crowded cocktail party full of bloggers together. It made me so happy to have a partner in crime- it would have been very awkward facing that room solo!
So I’m more than happy to jump on in and share one of my favorite DIY projects with all of you while Tracie is off on vacation (I’m jealous!). Without further ado… my DIY clothespin planter project!
This is a fun and easy little project. Here’s what you need to create your own.
I chose a clay plant base because I originally thought about using real greenery in this planter and I wanted the option to be able to water the plant. Plus I picked up a few for 50 cents each at my local hardware store, so it was win win. But I am sure you could use any kind of base to start with (an old tuna can? a small bucket?). I simply clipped the clothespins around the clay plant base.
Since I’m super duper pregnant (only about seven more weeks to go!) and couch sitting is my favorite activity currently, I didn’t want to have to add “water new plants” to the list. Yeah, I’m lazy like that. So with the help of a JoAnn’s coupon and a sale, I picked up a few of these fresh faux greens for a total of $9. I simply cut the foam balls in half (I had those lying around, otherwise I’d get flat rounds) and stuck the faux plants in. Cover them with moss (another crafty item I had lying around) and that’s it!
I think they bring a fun, fresh pop of green to my dining room table.
So there you have it! An easy peasy (but adorable!) little DIY project. If you’d like more information on my dining room, check out some past posts on the makeover of the room
here. I’ve also got a few more fun projects (including some new nursery-related projects as we finalize our nursery for our little soon-to-arrive peapod!) in my
project gallery.Thanks for having me, Tracie!
Thanks Michelle!! Love this planter!!!


Thanks for having me, T! xo