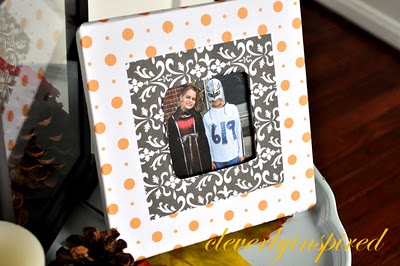
A few years back I had some friends over for a crafting night. We had such fun! Instead of playing bunco we did a craft. I gathered all the supplies…I think everyone paid $5 or so to cover the cost. It was a blast! We need to do that again! This is the craft that we did that night.
Simple, inexpensive…and one of a kind.
You need a wooden frame (Michael’s for $1!) mod podge, sponge brush, and a couple favorite scrapbooking cardstocks.
Coat the entire frame with the glue.
Lay the glued side onto the wrong side of paper.
Press out all the air bubbles (credit card helps)
Cut an X in the center and glue to the frame.
Then glue the rest of the paper to the frame. Sort of like wrapping a gift. Pressing bubbles out as you go.
To make the front of the frame pretty around the center…use a coordinating paper and cut a “mat” out.
Glue that to the front center. Let dry.
Now you have a custom created one of a kind Halloween frame :)


Stay connected with cleverly inspired on Twitter, Facebook, Pinterest, Youtube and on your cell with the new Mobile App!


Looks great! I love those Michael's frames … the possibilities are endless!