I am naturally drawn to blogs with amazing pictures…and the girls over at Whisperwood Cottage never disappoint! Really amazing DIY projects and tutorials. Amy was kind enough to share one of the latest projects with you all today. This lamp looks like it could be $200 in a catalog…I love it! Thanks again Amy!!

Hi, Cleverlyinspired readers! My name is Amy, and I am one half of the dynamic duo that is WhisperWood Cottage. Actually, I’m one third, if you count our trusty dog, Tanner. I’m also one of the Official DIY Gals over at The DIY Club. At WhisperWood Cottage, you’ll find an eclectic mix of cottage style, home decor, flea market finds, DIY projects, and reflections on life. I’m a huge fan of Tracie and her “cleverly inspired” ideas. She can do no wrong in my book!
So, what’s on the agenda today?
HOW WE MADE OUR OWN GLASS TERRARIUM/HURRICANE LAMP

I admit it. This project came about for one reason. Just pure and simple necessity! The cause? The “Great Lamp Tragedy” that resulted in a broken lamp and lots of tears…

After being short a lamp, I had to ponder a while on how to remedy the situation. Why not use the existing lamp components and the surviving terrarium/hurricane to make a new lamp? Would it work? I wasn’t sure, but it was worth the try.
Here’s what we (and by “we” I mean Ron & his dad) did. I came up with the idea and took the photos. The menfolk did the rest! :)
SUPPLIES
- safety glasses
- cut resistant safety gloves
- glass terrarium/hurricane (ours was salvaged from our broken PB terrarium lamp base)
- salvaged or new lamp parts
- tape measure
- paint pen
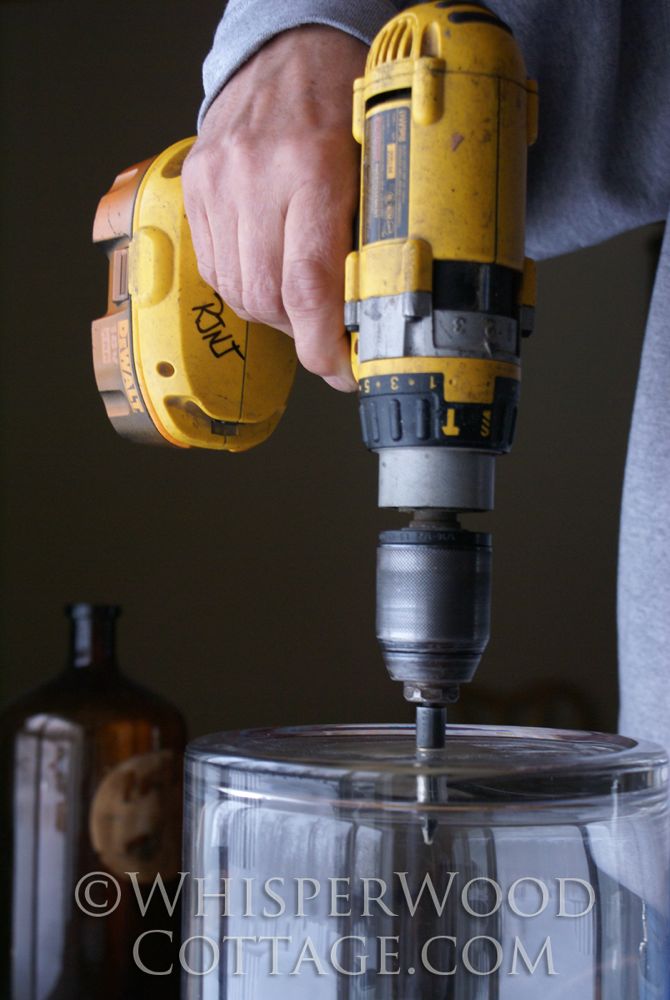
- cordless drill
- 1/4″ prismatic carbide glass drill bit
- 1/2″ prismatic carbide glass drill bit
- oil for cooling/lubing while drilling
- ratchet
- ratchet extension
- lamp shade (source: PB, style: linen tapered drum shade, size: large, color: bisque)

1. We started by placing the glass terrarium/hurricane with the bottom up. We used the tape measure and paint pen to mark the center of the cylinder.

2. We inserted the 1/4″ prismatic carbide drill bit into the cordless drill.

3. We put a few drops of oil on the mark before drilling.
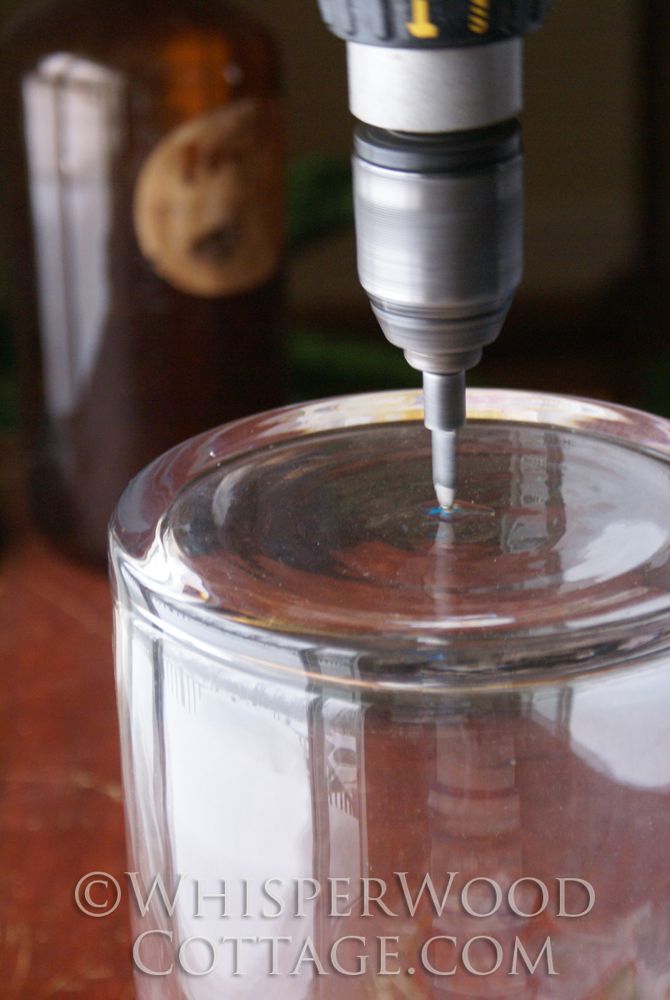
4. After putting on safety glasses, we lined up the drill bit with the mark and gently drilled.

5. VERY IMPORTANT TIP #1: When working with glass, do not put extra pressure on the drill. Let gravity and the natural weight of the drill do the work. Be patient.

6. VERY IMPORTANT TIP #2: Keep adding oil throughout the process so that it keeps the bit cool, which extends the life of the bit and reduces the chance that the glass will crack.
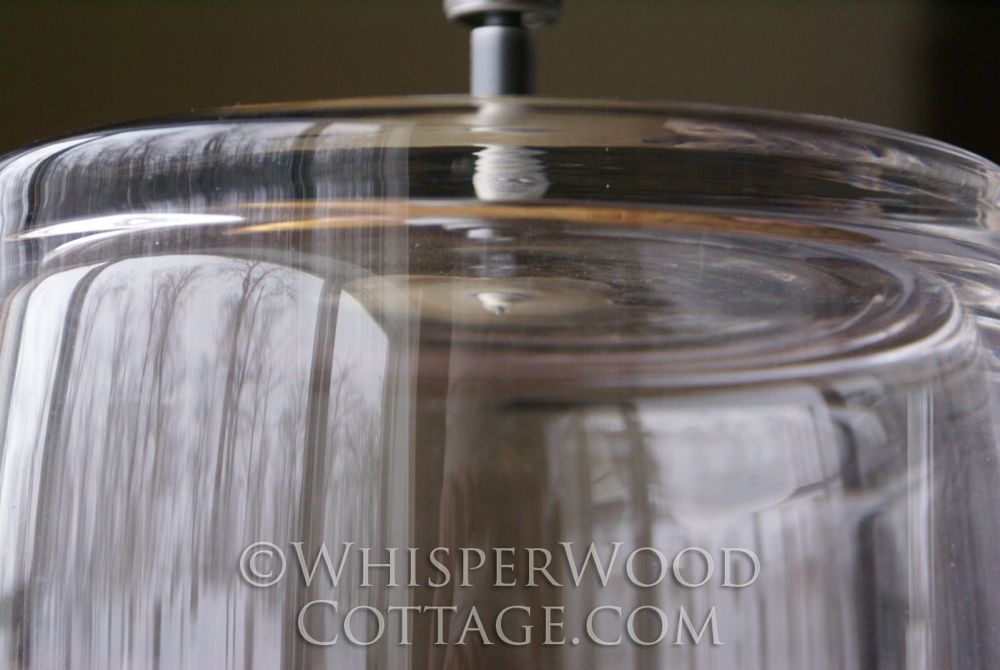
7. After the 1/4″ tip made its way through the bottom of the terrarium/cylinder, we kept the drill running and gently pulled the drill upward to remove it from the glass cylinder.

8. The 1/4″ drill bit was replaced with the 1/2″ drill bit and the drilling/oiling process was repeated to make the hole larger to accommodate the size of the lamp components we had on hand.
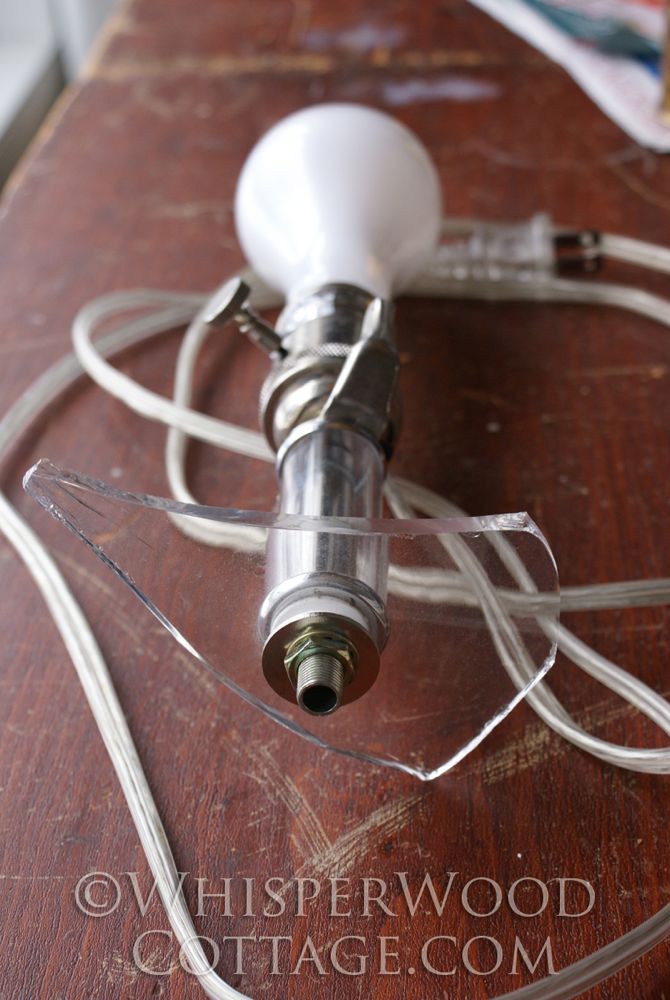

9. In our case, we had the existing lamp parts from the broken lamp. After putting on protective gloves, we removed the broken glass bit.

10. The threaded lamp rod was inserted into the hole just created.
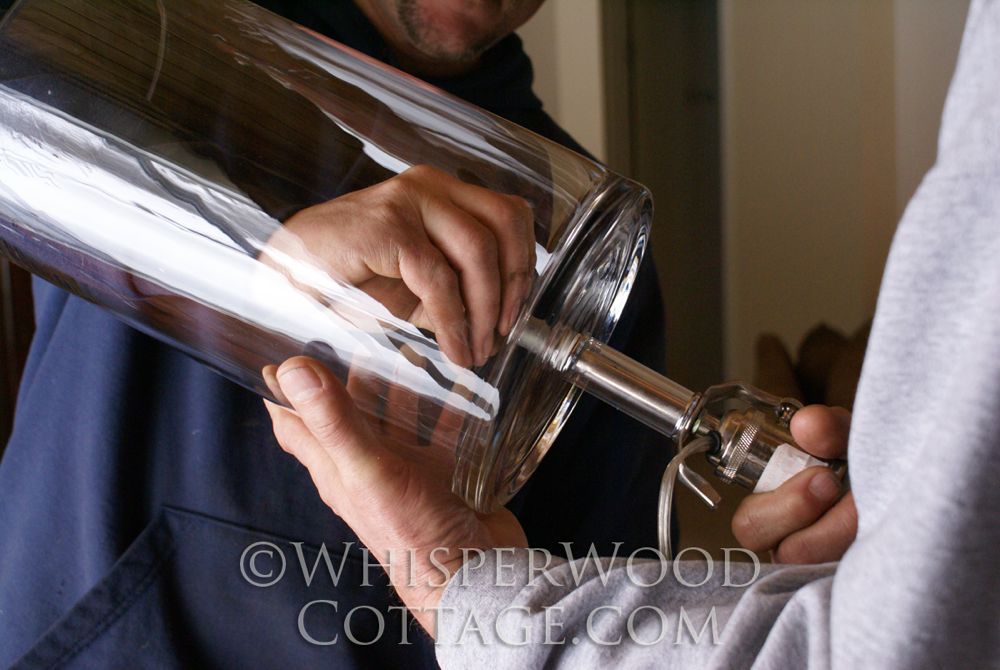
11. Rubber washers were placed over the threaded rod first to protect the glass. That was followed by a metal washer and then a nut on the threaded rod.

12. Using a ratchet and ratchet extender, the nut was tightened to affix the lamp parts securely to the terrarium/hurricane. VERY IMPORTANT TIP #3: Be sure not to over-tighten the nut when working with glass. Over-tightening can cause the glass to break.

13. Add the lamp shade. (To the lamp, silly!)
14. Place the lamp wherever your heart desires!
Thanks to my DIY heroes, Ron and his dad, for making one more of my ideas come to fruition. Between the two of them, they make DIY look so easy!!
DISCLAIMER: Be sure to take all safety precautions with this type of project. If this is beyond the scope of your experience or skill level, hire a professional at a glass & mirror shop to do it for you.
Thanks for letting me visit, Tracie! You and your blog family are welcome to stop by the cottage any time for a chat!


Thanks, Tracie, for being such a great blog friend! I hope your readers enjoy the lamp tutorial! I'm planning on making your salsa for my next family get-together! :)