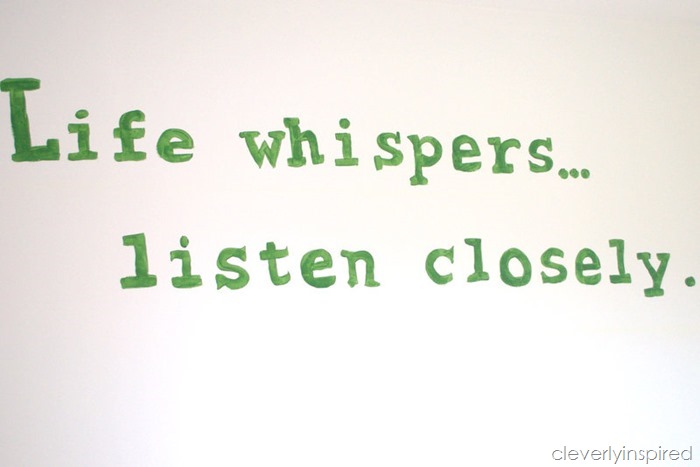
I try ideas sometimes…not knowing if I will like the outcome or not…but I need to get it out of my head (know what I mean?) This was one of those ideas. I love this quote…and I really wanted it up on the wall.
“Life whispers. Listen closely.”
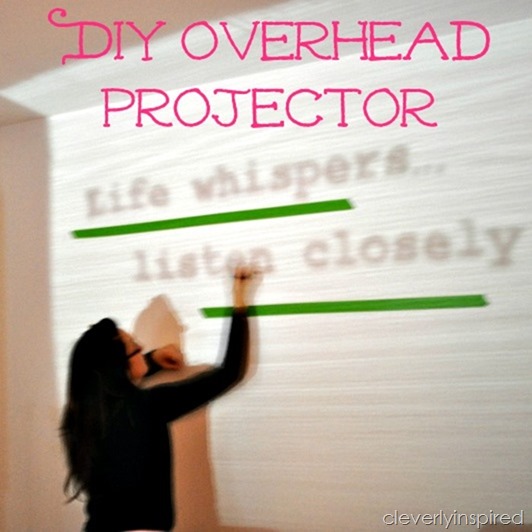
Short…to the point..and so true. I went about painting it on the wall…and then a week later I painted over it. It just wasn’t what I had in mind…and after I found an amazing old mantel for the wall (in my new office) where the quote was written…I went about a whole new idea. I call it a “creative process”…you may call it something else (maybe, half box of crazy?….moving on…;) Please excuse fuzzy picture…the Hubs photography skills at work…;)
Any who, I wanted to show you how I went about making this cheap DIY overhead projector. Through some trial and error….I found a set up that worked great. This projector would be fabulous if you are wanting to paint an object on the wall (like a picture…or words) I would caution to not pick a font that is too crazy…words are difficult to transfer…a picture would be much easier. If you want to do a short quote….make it a simple font. The font I used was Courier New size 36.
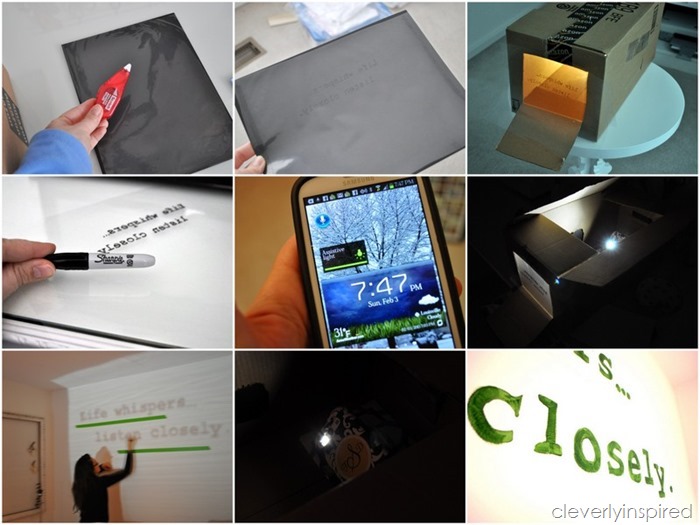
To print my words, I used a sheet protector (cut the sheet protector at the seams so it is just one piece of plastic). You could also use a printable transparency sheet—I was using what I had. I used an adhesive roller and pasted the plastic to a sheet of cardstock so that it would go through the printer. Worked like a charm. Be sure to print a “mirror” image. You will need to trace over the words (or image) with a sharpie. Make it as dark as you can.
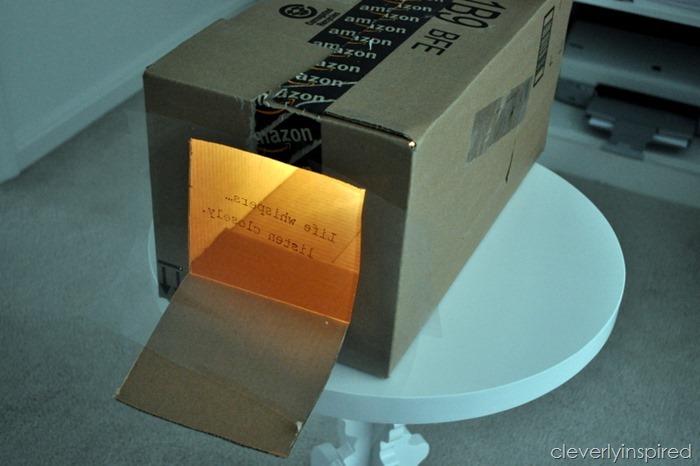
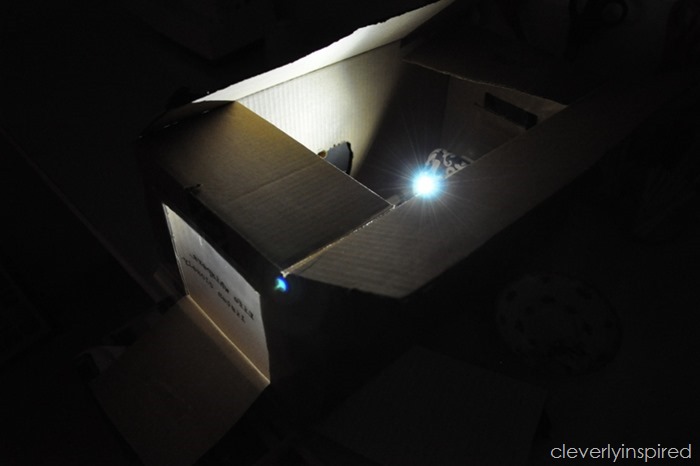
You will need a box…cut out one side and tape your printed image to the opening. The only light that worked for me was my smartphone light. Most smartphones can be flashlights (did you know??!) Sometimes you have to download an app. I tried all sorts of flashlights, lamp lights, halogens….nothing was as bright as the smartphone light. You may have better luck…but what I do know is that it has to be super clear and super bright to transfer to the wall.
Before I traced the words….I lined up some painters tape on the wall so I could see what was level. Then I lined up the words with the tape….I used a pencil and traced the words on the wall. Then I used an artist paint brush to fill in the lines.
Thing you will need:
Print in bold, mirror image.
Box
light
razorblade
sheet protector
cardstock
printer
adhesive roller
fine tip sharpie
large level
colored chalk
Good luck!
Monday…the big offce/craft room reveal (it’s mostly done….so I’m going to share what I have.) Hope you are not tired of hearing about it yet ;) Have a great weekend!!!
Also, if you have a minute…be sure to enter to win one of 2 big giftcards ($175 to Target or Amazon!!) Here is the link Giveaway ends on Sunday
Sharing at
BeDifferentActNormal, The36thAve, Whipperberry, TipJunkie, Tatertots&Jello, TodaysCreativeBlog, SerenityNow, PositivelySplendid, IHeartNaptime, ByStephanieLynn, TheDIYClub, CRAFT. MadinCrafts. HomeStoriesAtoZ
Clever Tracie! I would never thought of making my own projector and I’ve been wanting one for a while – so this is perfect! Love that quote too!
I LOVE this! Serious, this isnt spam. This opens a whole new world of options for me. Thank you!