So I was walking through Lowes…checking things off my list when it hit me….I had some sort of DIY epiphany somewhere in between aisles 3 and 14…Has that ever happened to you? I have been feeling like my creative mojo was lost….but right there in the middle of the adhesive aisle it all came back. BooM!
What a good feeling:) So from then on…. I was on a mission. I wasn’t quite sure how it would come together…but I could see if clearly in my head….I went to the wood aisle and found some 4 inch pine. I stood there holding it… just staring at it for a good 5 minutes. Some nice man came up behind me and said “watcha making?” I said…”oh, a wreath….”….He made some comment that he hadn’t seen a wreath made from just a few pieces of pine. I said something to the effect…” Well, it’s all in my head….so I am just trying to figure it out…”…he sighed and went about his day. This happens often…to me…in Lowes. It’s like my creative juices are on overdrive and my brain is like “dude…slow down…I have no idea how to put that together…” #lifeofablogger
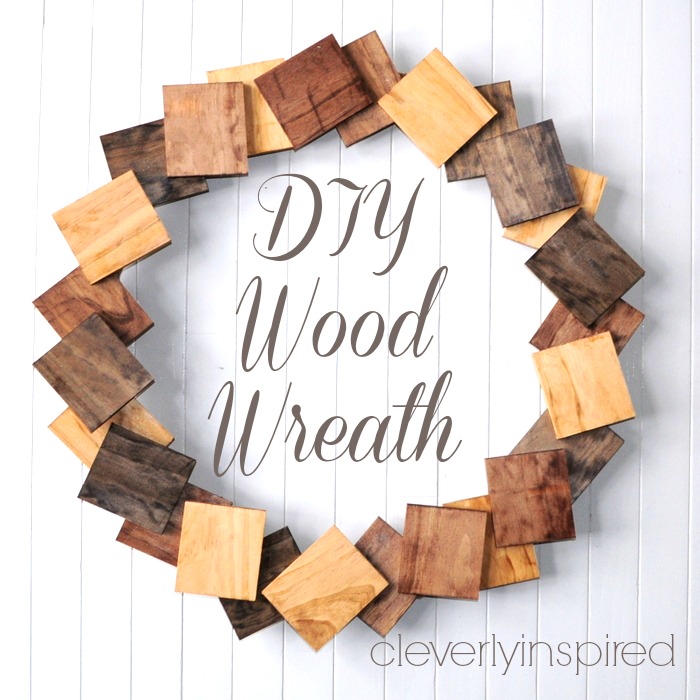
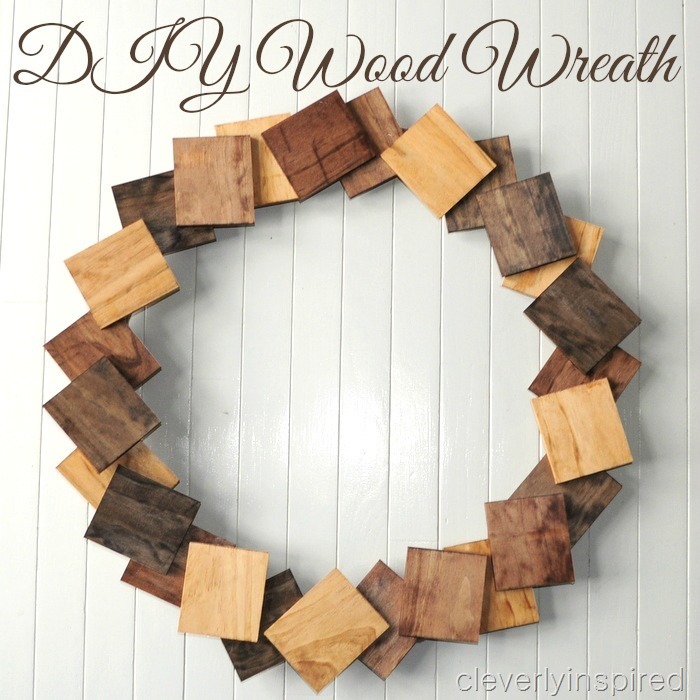
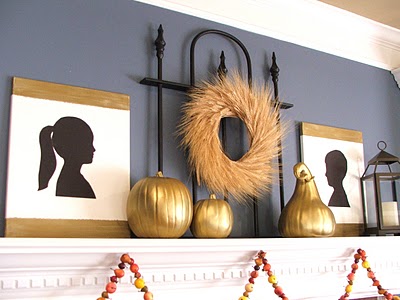
Anywho, I was wanting a new special something for the mantle….and this totally fits that bill:) I am smitten with this wreath. I love that it is warm…but kind of edgy….it is classic…but kind of modern too. And I think it is going to look awesome once the mantle is all “Christmas-fied”….cannot wait:) I thought that I would share it with you now in case you wanted to whip one up for your house:)
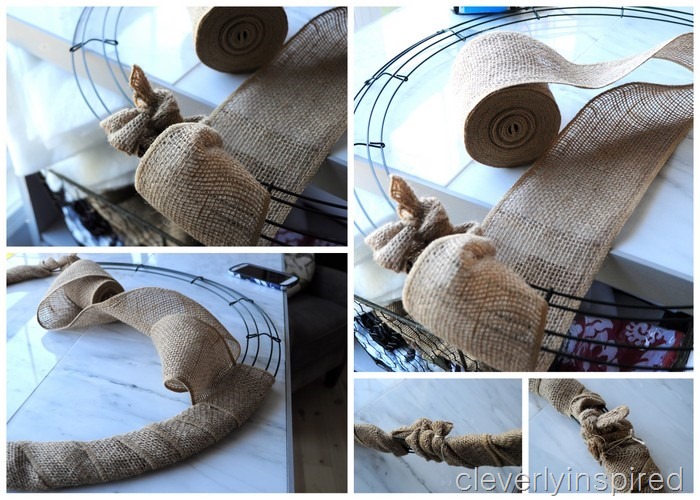
First put together your wreath form….easy enough….
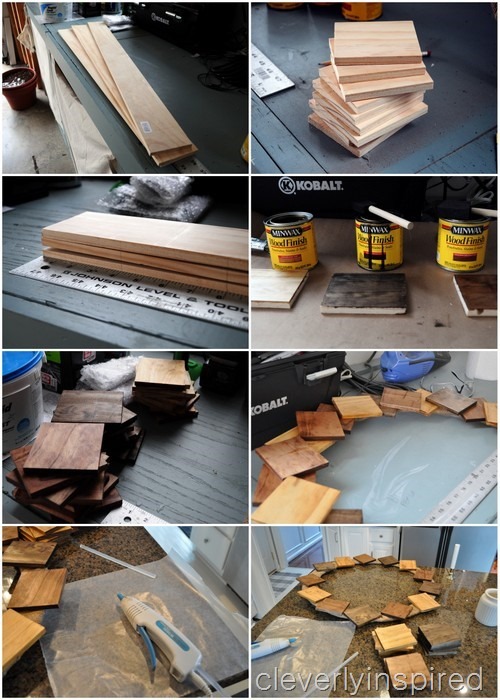
Then get to work on putting the wood together to glue to the wreath form….
(do be scared of the miter saw….:)
Here is what you will need:
(3) 4” by 36” (1/4” thick) pine boards
hot glue
3 shades of Minwax stain ( I used golden oak, dark walnut and English chestnut)
foam brushes
rags or paper towels
24” wire wreath frame
1 roll burlap ribbon
miter saw
Directions:
Measure and mark your wood every 4 inches
With your miter saw make your cuts (you should end up with 27 pieces of wood)
Stain wood pieces (12 natural, 12 dark, 12 special)
Cover your wreath form with burlap ribbon (this will be your base to glue the wood to)
Place one layer on the wreath form and hot glue in place
Dry fit the top layer making sure your design is varied and then hot glue in place
Let dry
There are so many variations that would be so neat to try. Get some old trim pieces and cut them up…or instead of staining you could paint….so many possibilities.
A super fun project to start off the week ;)
Where I share ideas:
BeDifferentActNormal, The36thAve, Whipperberry, TipJunkie, Tatertots&Jello, TodaysCreativeBlog, SerenityNow, PositivelySplendid, ByStephanieLynn, TheDIYClub, CRAFT. MadinCrafts. HomeStoriesAtoZ, InspireMePlease, 30Days, Remodelaholic

Love this! Can you mail it to VA? ;)
This is lovely Tracie! I really like how you used different shades and stains :)
Wow, this is really cool! Love all the different tones!
Thanks Donna ;)
[…] love a fun wreath! This DIY Wood Wreath just shows you how creative she really […]