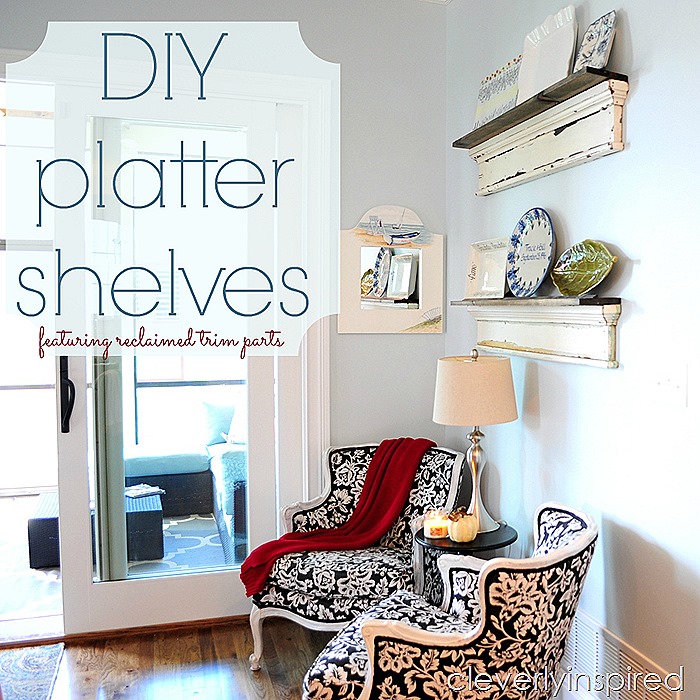
My love for old trim parts is deep. I have used these pieces in several projects throughout the past 4 years. These reclaimed wood platter racks make great use of old trim parts. They are really art unto themselves—along with whatever you happen to place on top of them. In our new dining space….we have a large wall that was just crying for something special (do your walls cry? just me….? carry on…)
I went searching for some trim parts to create some platter shelves. I wanted them to be around 48-52 long, with a wide top to place a shelf on top…and I wanted them to have some chippy old paint that was really worn. A field trip downtown to my Architectural Salvage was a perfect starting point. I found two old trim pieces that were probably headers on a door jam at one point….I just adore the character they have. A true value too…only $10 a piece! Here is how I went about putting these reclaimed wood platter racks together….so easy…I promise!
cv")
You will need a few things from your local True Value to get this project going:
Minwax stain in the color of choice (I used Jacobean to compliment our floors)
gloves
sponge brush
rag
(2) 1 x 6 pine boards (cut to the length of your trim parts you are using)
(2) narrow trim pieces for the top of the pine. These will hold platters in place.
trim screws for securing to the wall (and for securing pine to reclaimed trim)
brad nailer (to secure the trim to the pine on the top)
painters tape to mark your studs
")
Steps:
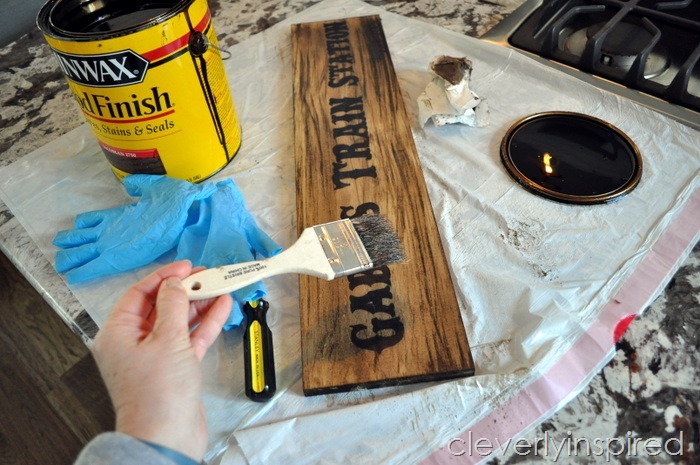
Clean up your reclaimed trim parts. I vacuumed and then wiped really well with a damp cloth.

Then you are going to want to stain the pine boards (you could paint them if you wish:) I used Minwax Jacobean stain. Brush stain on the whole piece, wipe off and let dry. Easy. I have talked more in depth about staining on this post. It is very hard to screw it up…staining is a great beginners project.
Stain your trim piece for the top of the shelf too. Let dry.
Wipe on a polyurethane. I like Minwax wipe on in satin.
Now you are ready to attach your pine shelf piece to the reclaimed trim piece. I used 4 trim screws and attached the pine to the trim.


Now you are ready to hang up your shelf. We used painters tape to show us where the studs were (thanks dad for that genius idea!) We also marked where the shelf would be centered on the wall so that when we went to place it up there….no guessing!

Trim screws were used to secure the shelves to the studs in the wall. We used 4 screws on each shelf. Be sure to space you shelves allowing for platters to sit on top of the shelves:)
")
Pop some brad nails on the trim to secure them to the pine boards. This is what will “hold’” your platters in place. Lean them against the wall to judge the space. Our trim was about 3 1/4 from the wall…so a little more that half way in the center…hope that makes sense:)
")
Place your favorite platters…and enjoy!! Love the character the old wood has….perfectly imperfect!!
")
This is the view from the family room….I love that the platters take up the wall….Draws your eye back to that little coffee corner:)
")
")
Here is a link to my other platter post:

I was one of the bloggers selected by True Value to work on the DIY Squad. I have been compensated
for my time commitment to the program as well as writing about my experience. I have also been
compensated for the materials needed for my DIY project. However, my opinions are entirely my own
and I have not been paid to publish positive comments.