So if you were here yesterday…you saw that I decided to take the carpet off my stairs….Phase One–Operation Stairs Makeover and here we continue…..
The project continues with a day of sanding and scraping up the paint and caulk that was on the stairs.
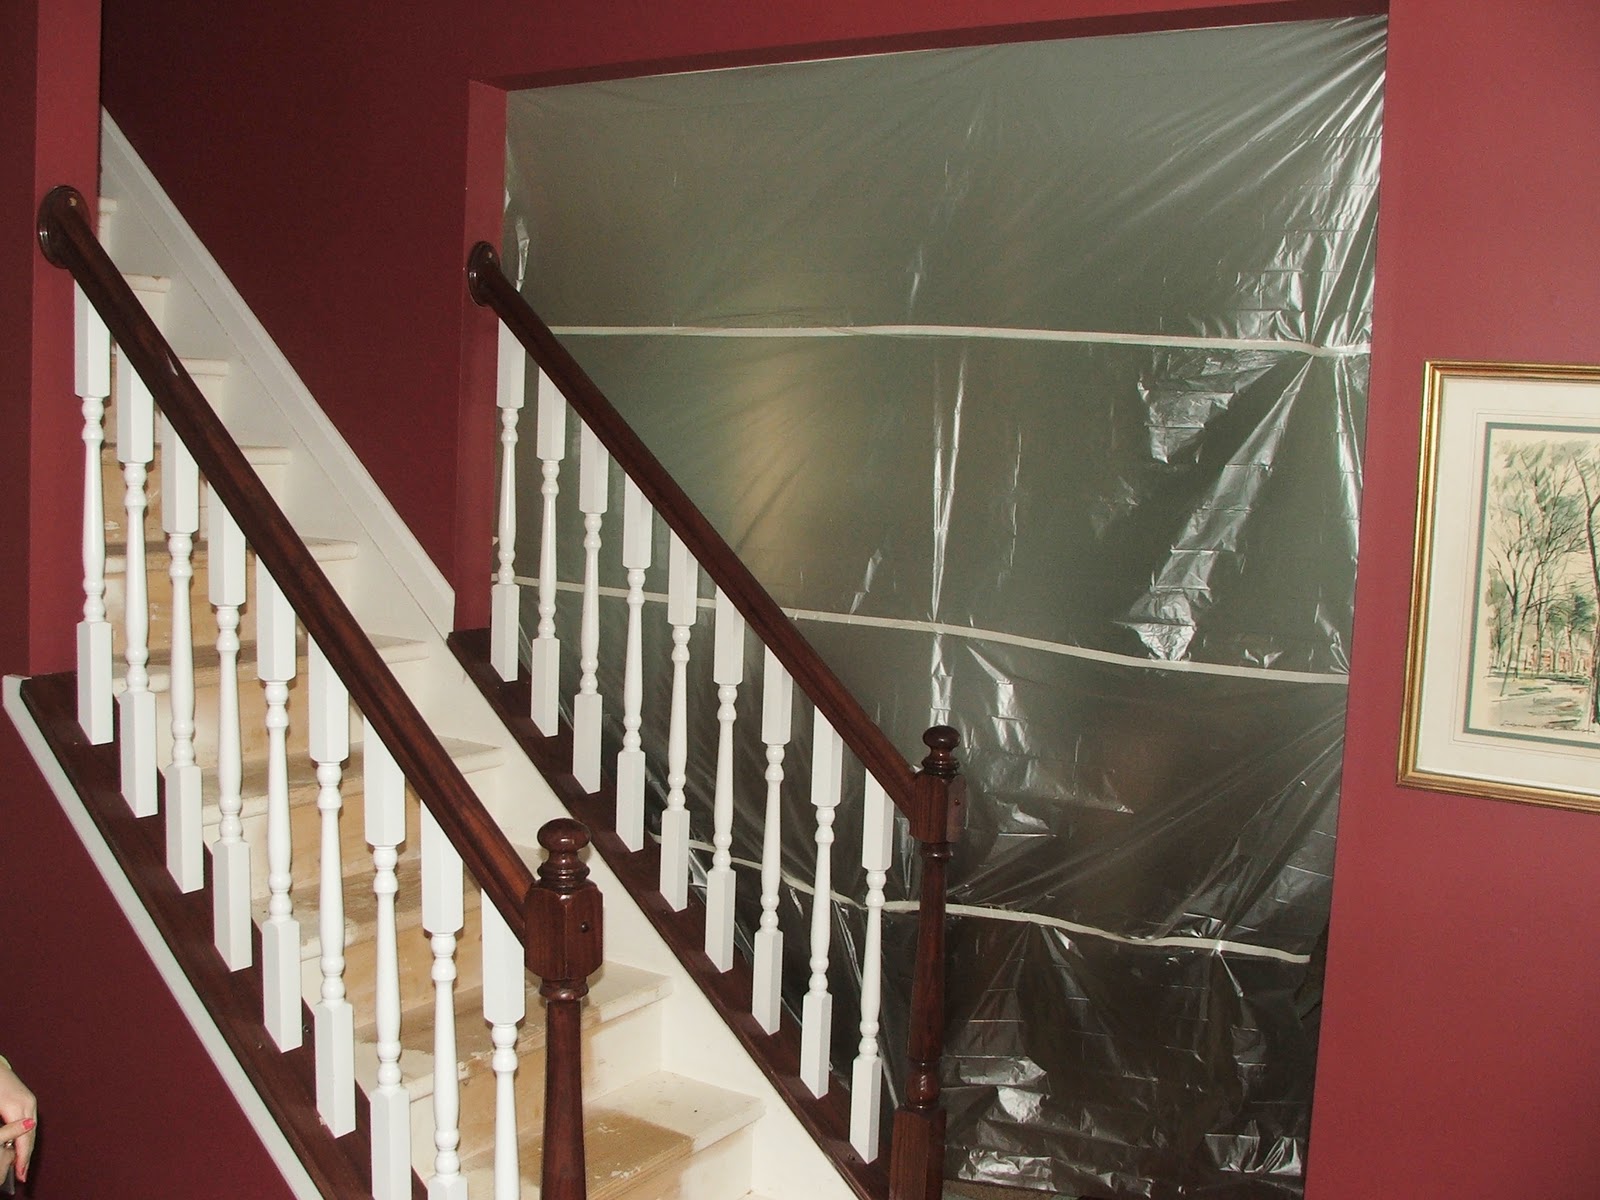
Plastic was hung up from every doorway to help the dust…which there was a bunch of …dust!!
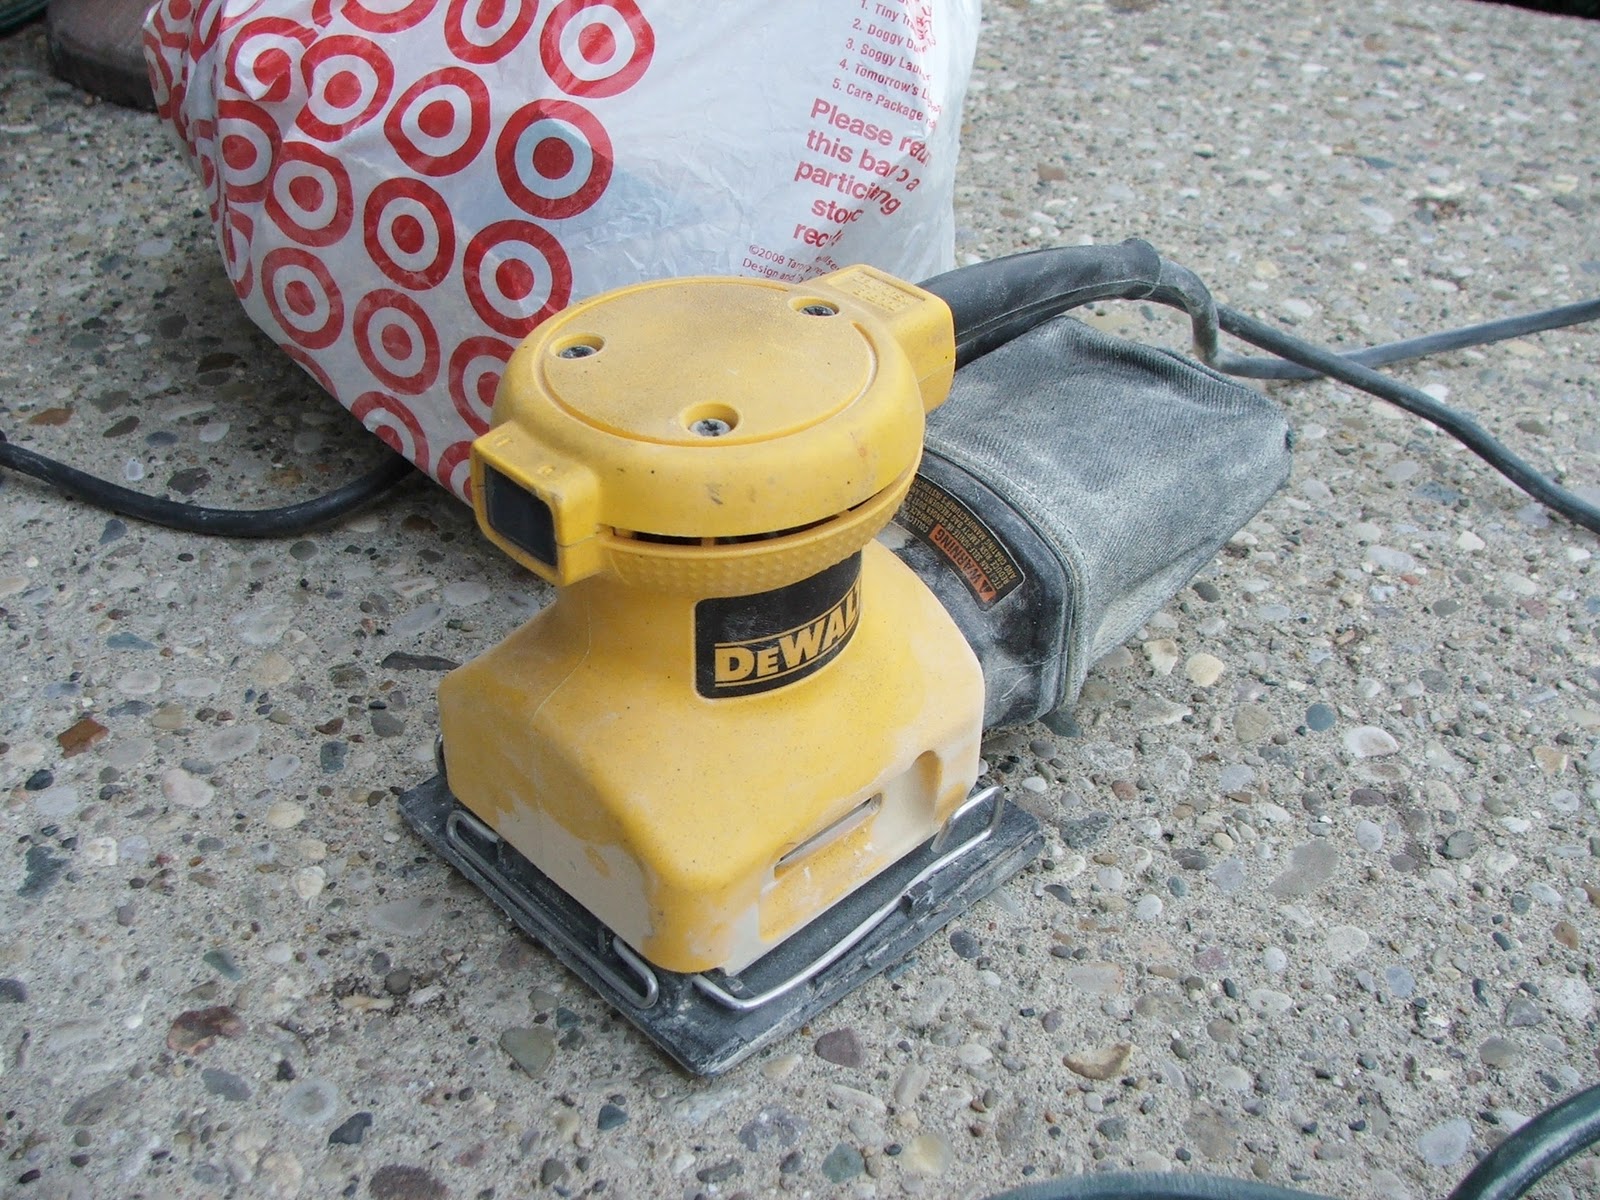
We used my Dad’s quarter sheet sander….and we got course (60) grade sand paper. I bought 2 packages.

We ended up using about one little quarter sheet per step…
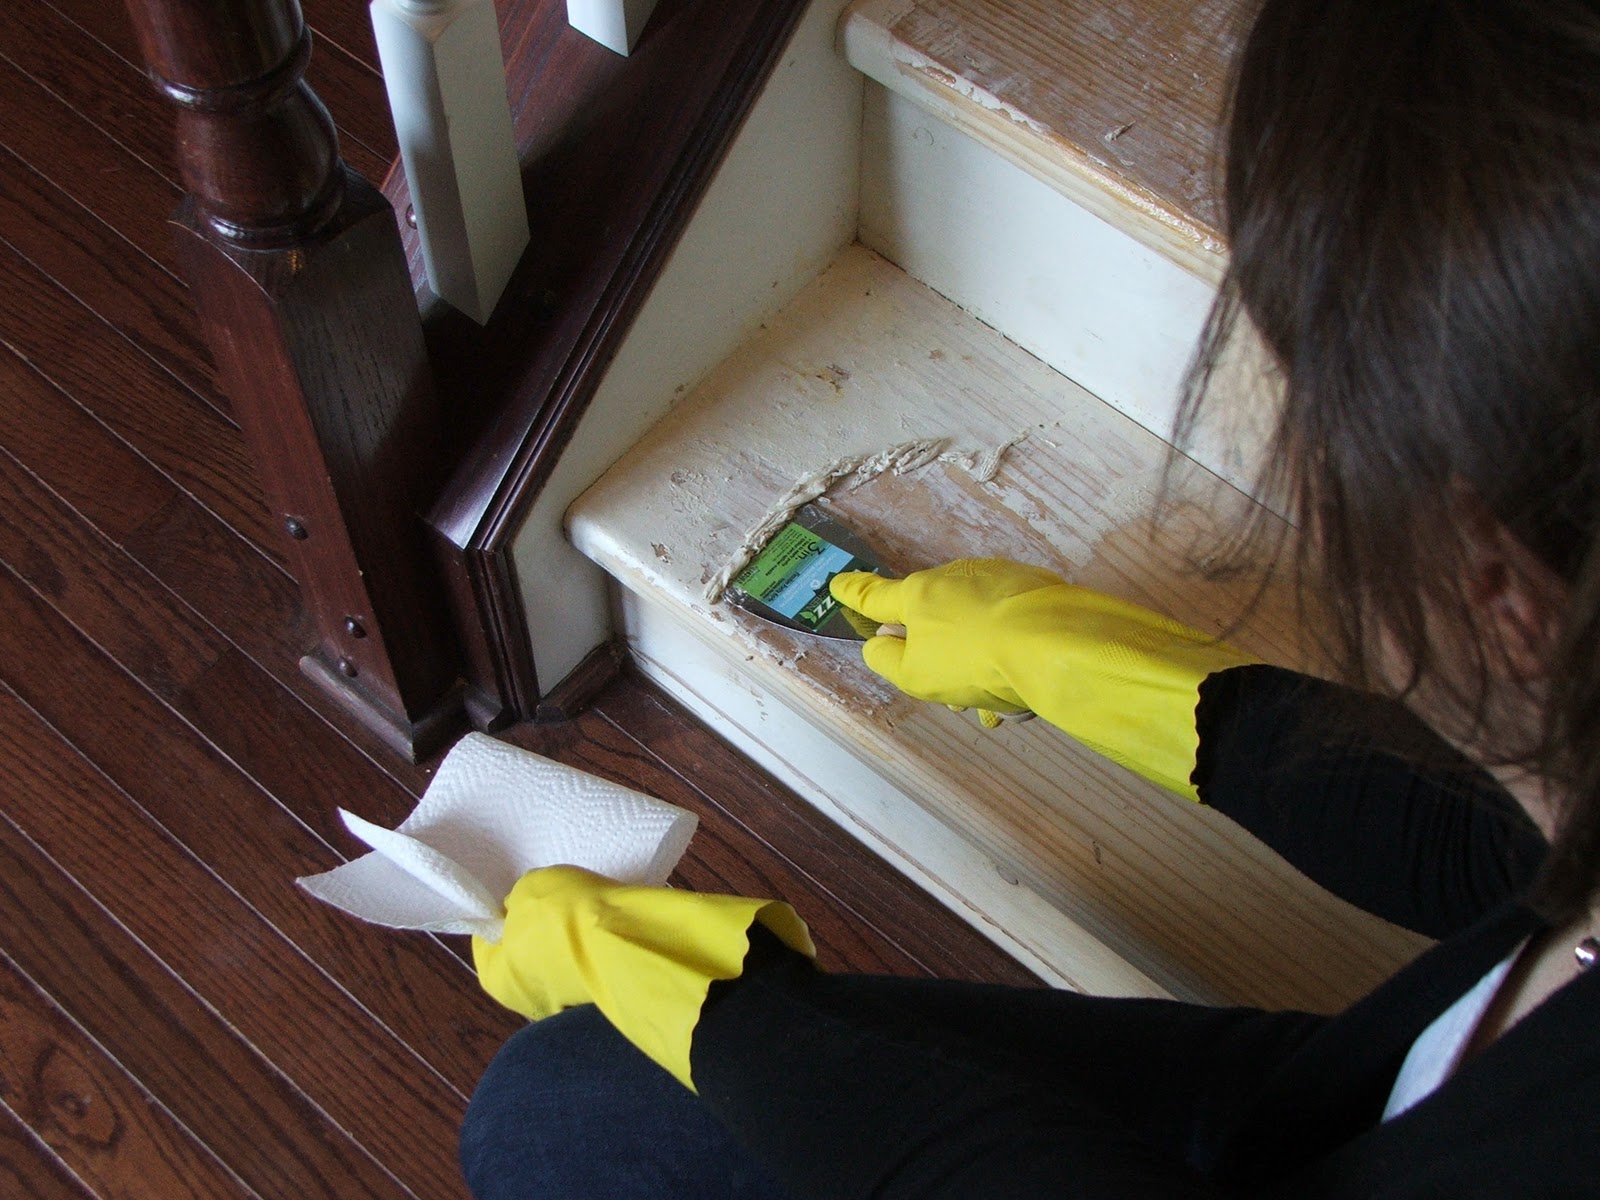
After all the steps were sanded there was still some junk on some of the steps. So for the stubborn parts I used a stripper. This stuff is awesome!

Please follow the directions though…be careful please.
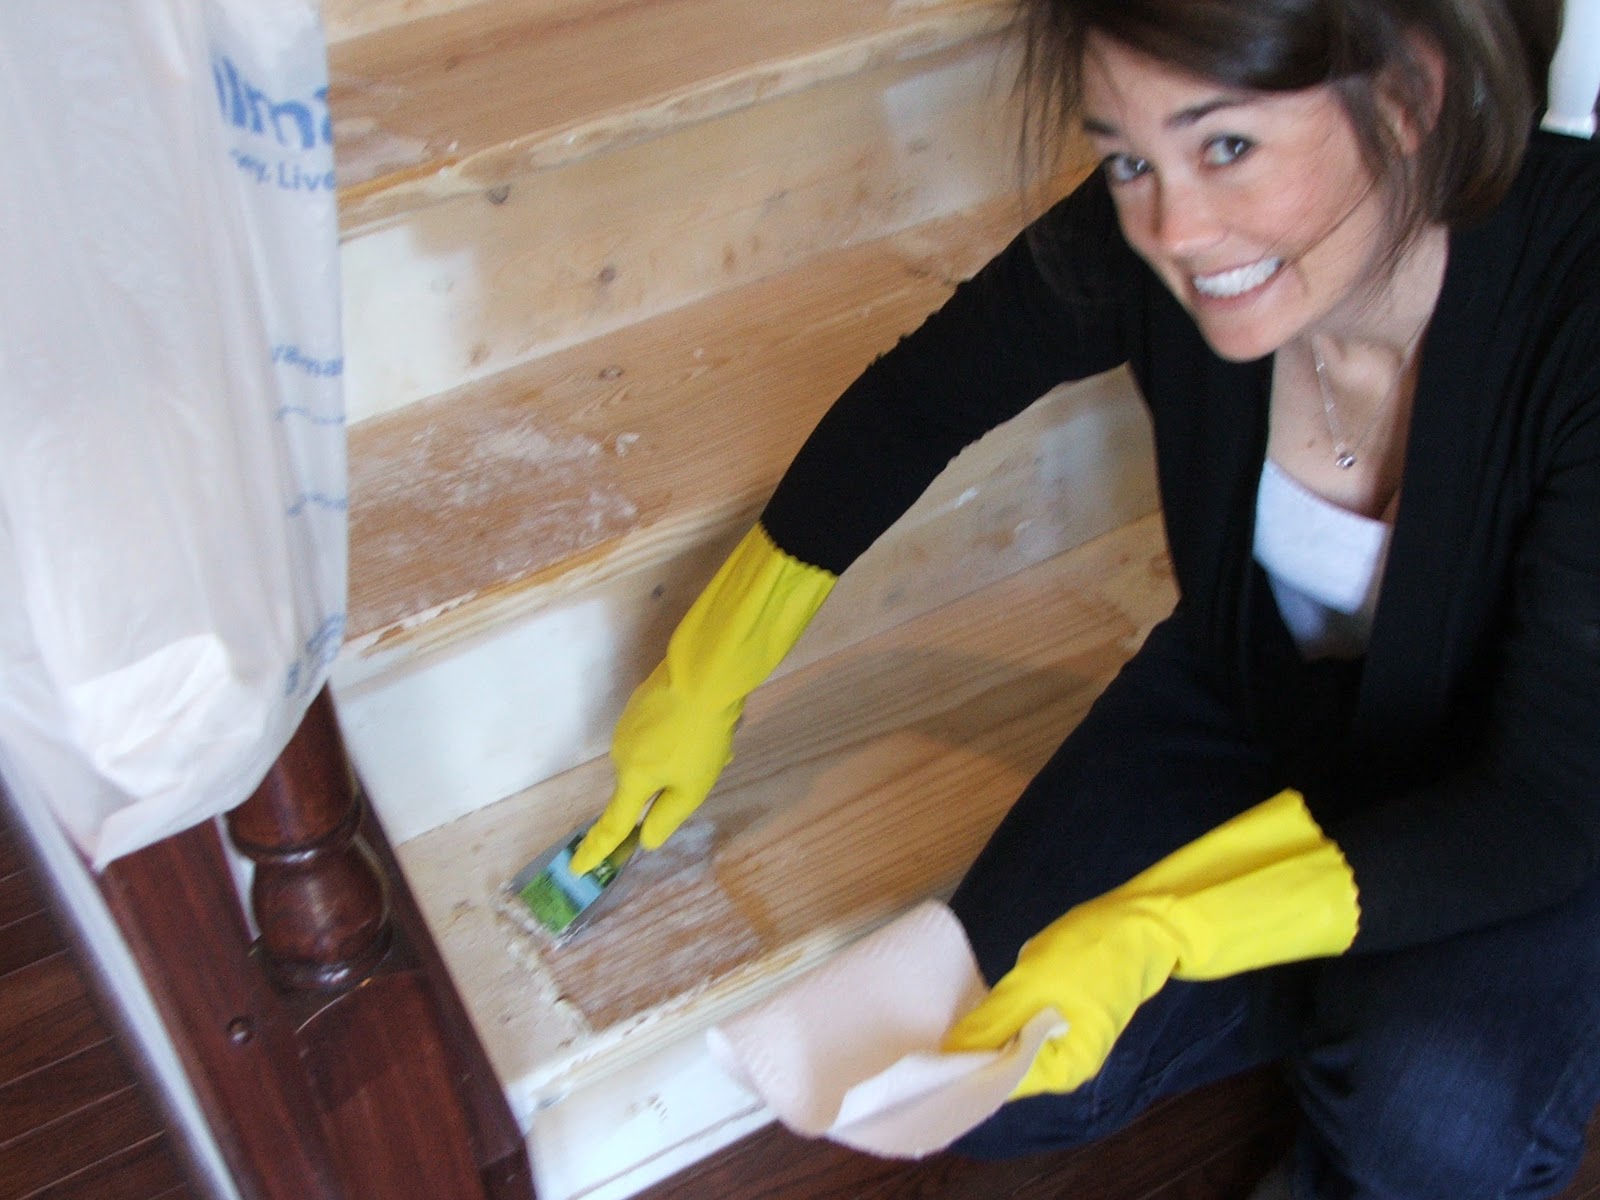
You basically brush it on, let it sit 20 minutes and take a metal scraper to it and the paint and gunk just shrivels right off!
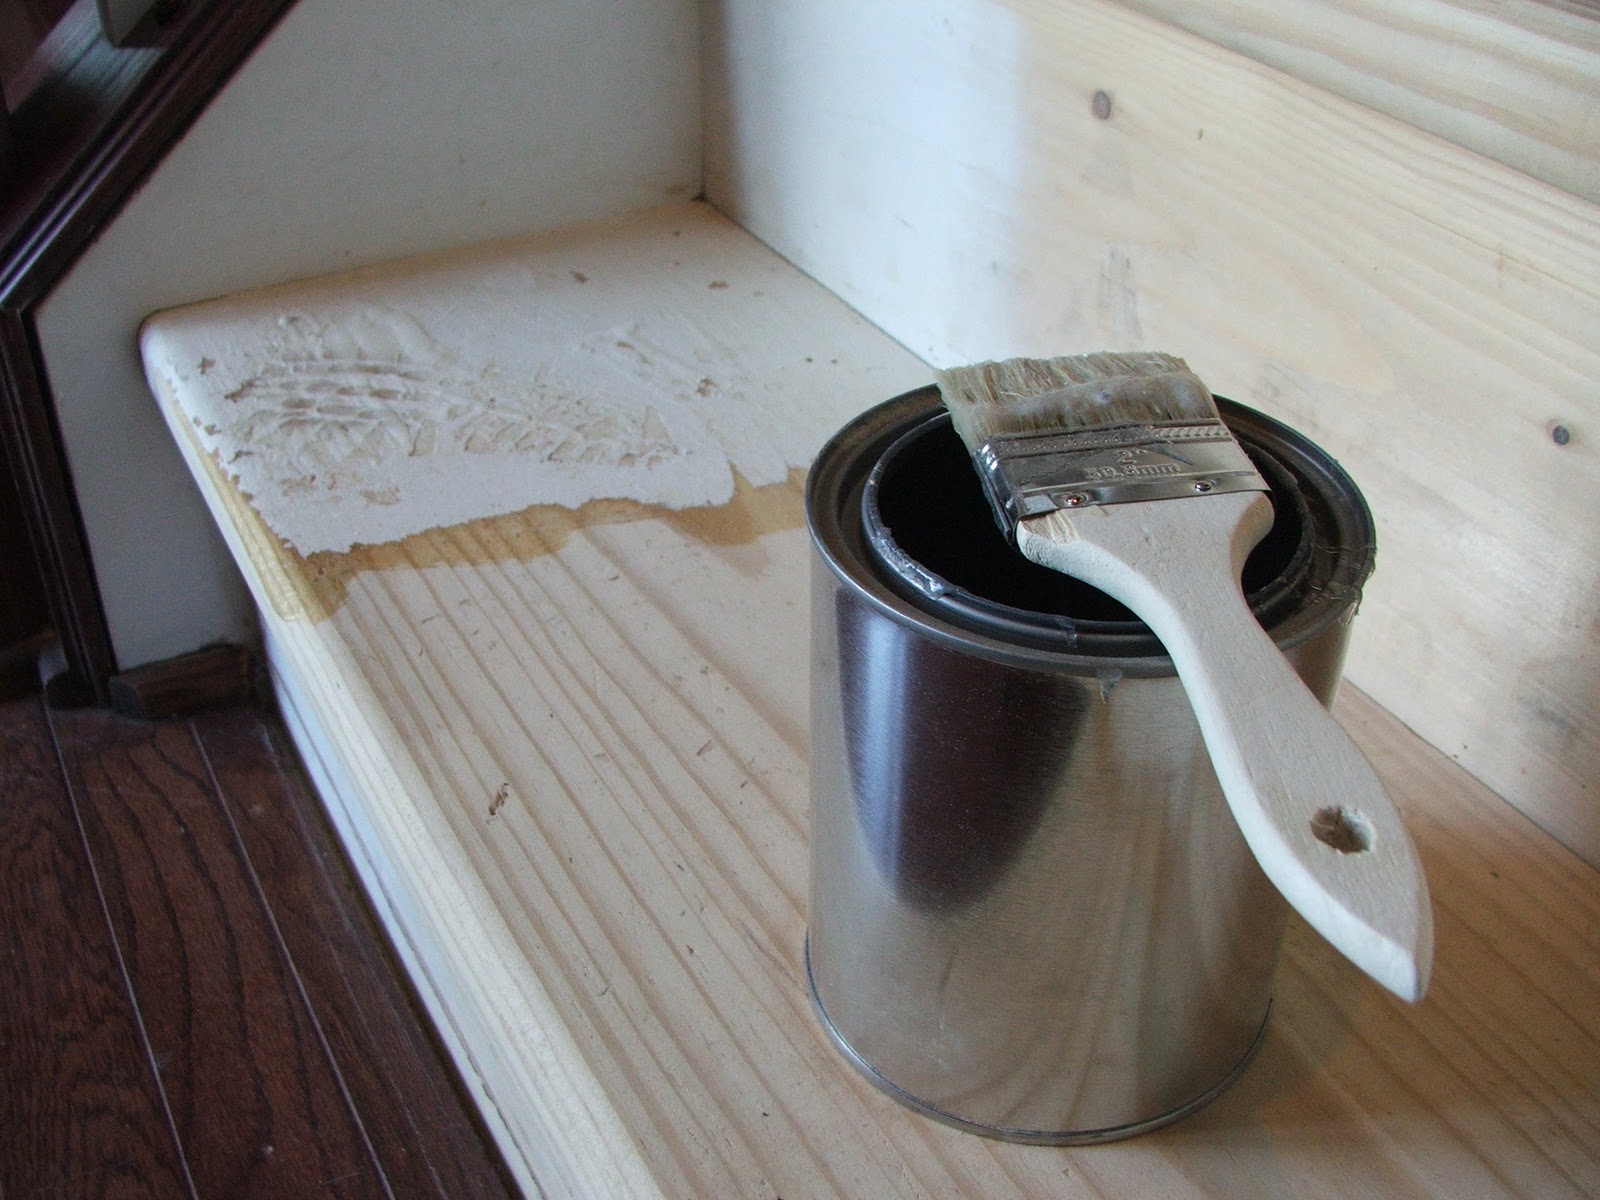
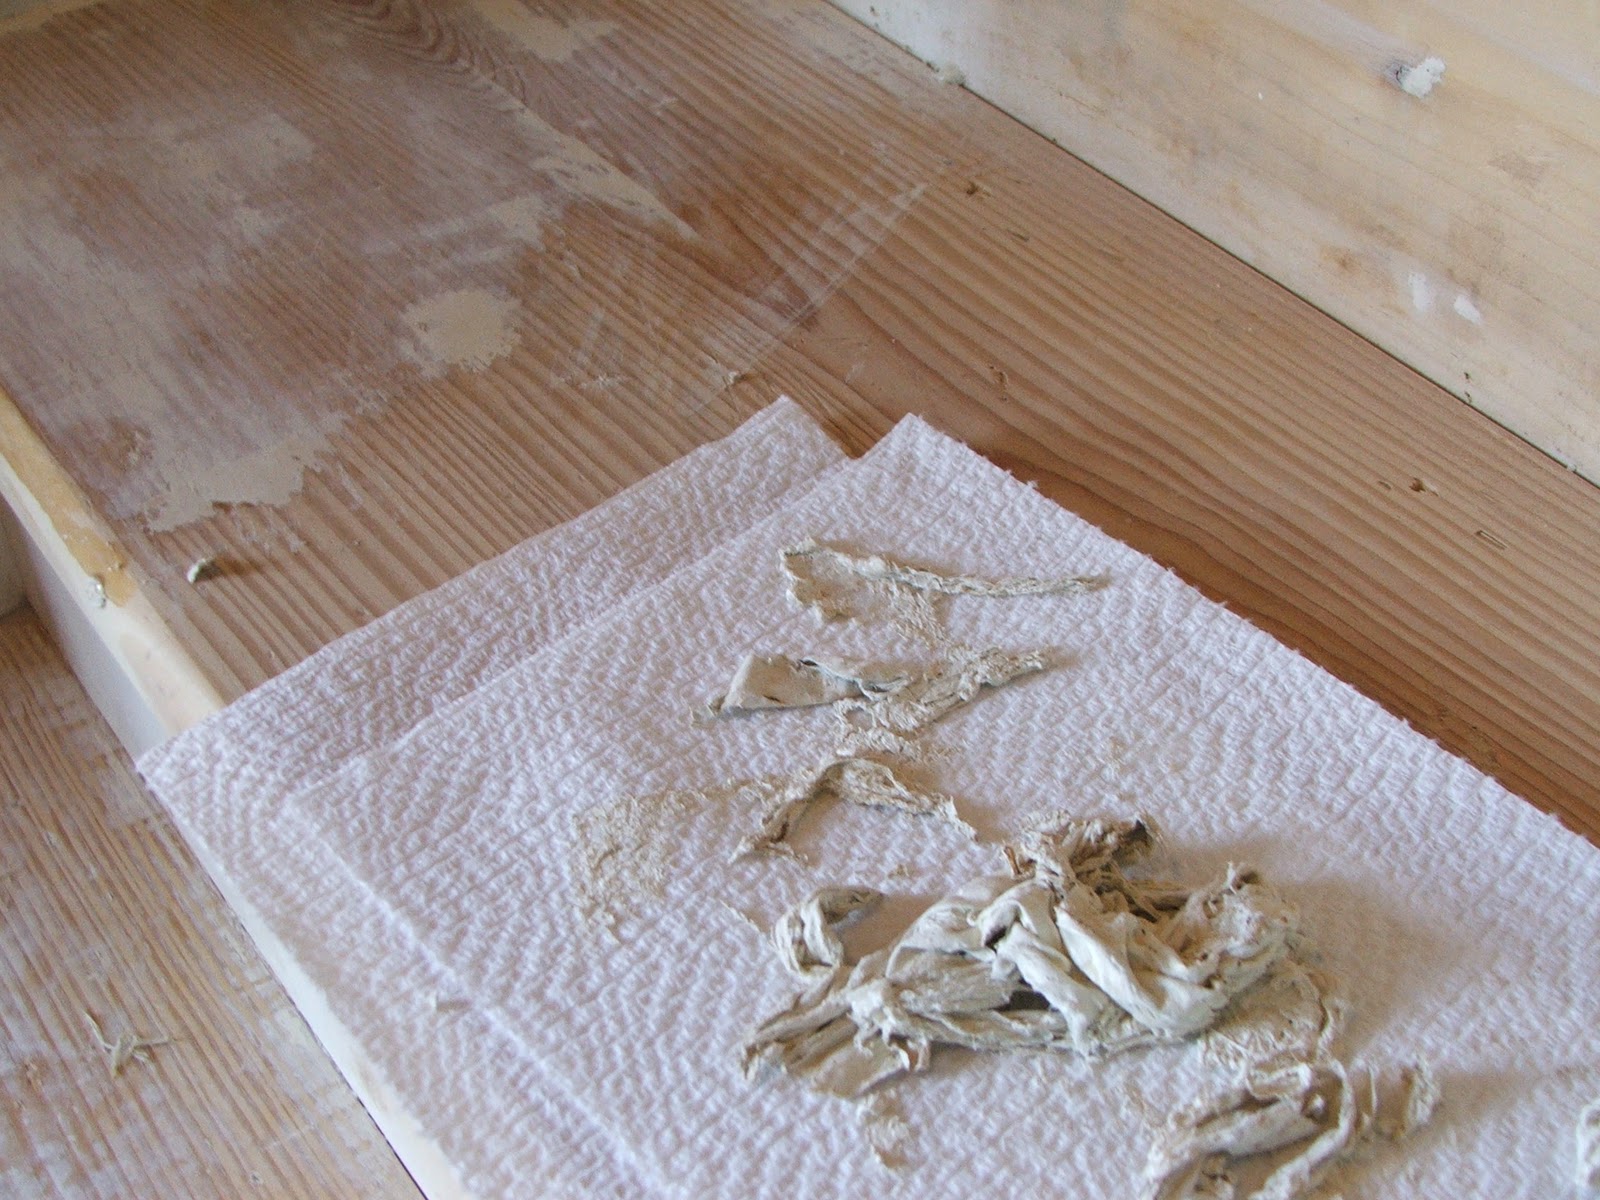
So satisifying

When you are finished getting all the gunk (for lack of a better word, sorry) You need to clean the steps gently with some mineral spirits to remove any residue from the sander and the epoxy remover. We decided instead of staining we wanted to paint the treads a deep chocolate color and the risers and semi-gloss white. We could have stained….but a couple of stairs really had paint built in…and we loved the color of the paint. It looks really rich…but also has alot of character. Love that!

Seek peek at sample board…..so pretty!
Phase 2 we spent:
$3.94 for 2 drop cloths
$5.97 air-masks
$5.05 for 2 packs of 60 grit sandpaper
$2.68 small metal can for epoxy remover
$8.97 Epoxy and Paint remover
$2.00 for 2 chip brushes
$2.94 jar of sample paint
$31.55 spent….
Stay tuned for Phase 3!

such a good guy….he vacuums more than me! Love you babe!


Subscribe to cleverlyinspired by Email
Be Inspired to be Clever ;)
looks awesome!!! i can't wait to see the final reveal!
You are working fast!!! It looks so great!
you're doing such a great job. I'm way impressed! Kudos!!
So awesome!! It's going to be gorgeous!! :)
Awesome..Can't wait to see the final reveal..Lovin the vaccum man..He reminds me of my husband..LOL
Can't wait to see the final product! Found you on Tools R For Women. Nice blog!
I'm excited to see the final result! You go girl! You should link up to my party at http://www.thrifty101.blogspot.com It's a DIY Thrifty Thursday, this would fit right in! -Michelle
I have a question, I would like to stain my steps, in your opinion what stain would be similar in color to Valspar paint color? Walnut stain? Tks.
I love this project, I love how you broke it down into phases and simple steps, and I love that you included a cost breakdown. Thanks!