Here is where we started this project if you are just joining me….Phase 1 and Phase 2 of Operation Stairs Makeover…..


Putter has lost all patience with me by this point. Poor dog…if he could talk, he would be saying “could you please just put back the carpet and end this nonsense woman…” oh no….no carpet for you!
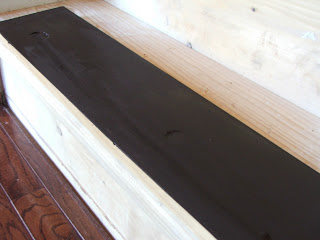
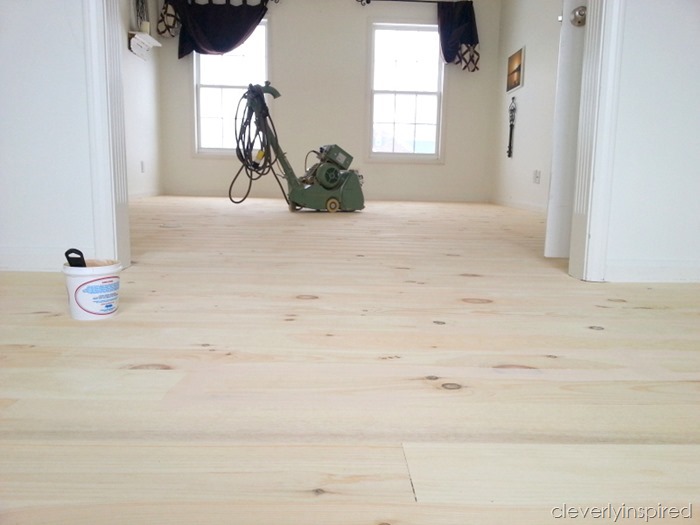
After stairs were all cleaned up good I could start painting. I primed the risers with a white primer.

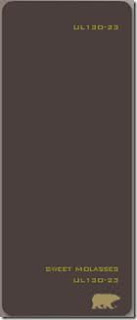
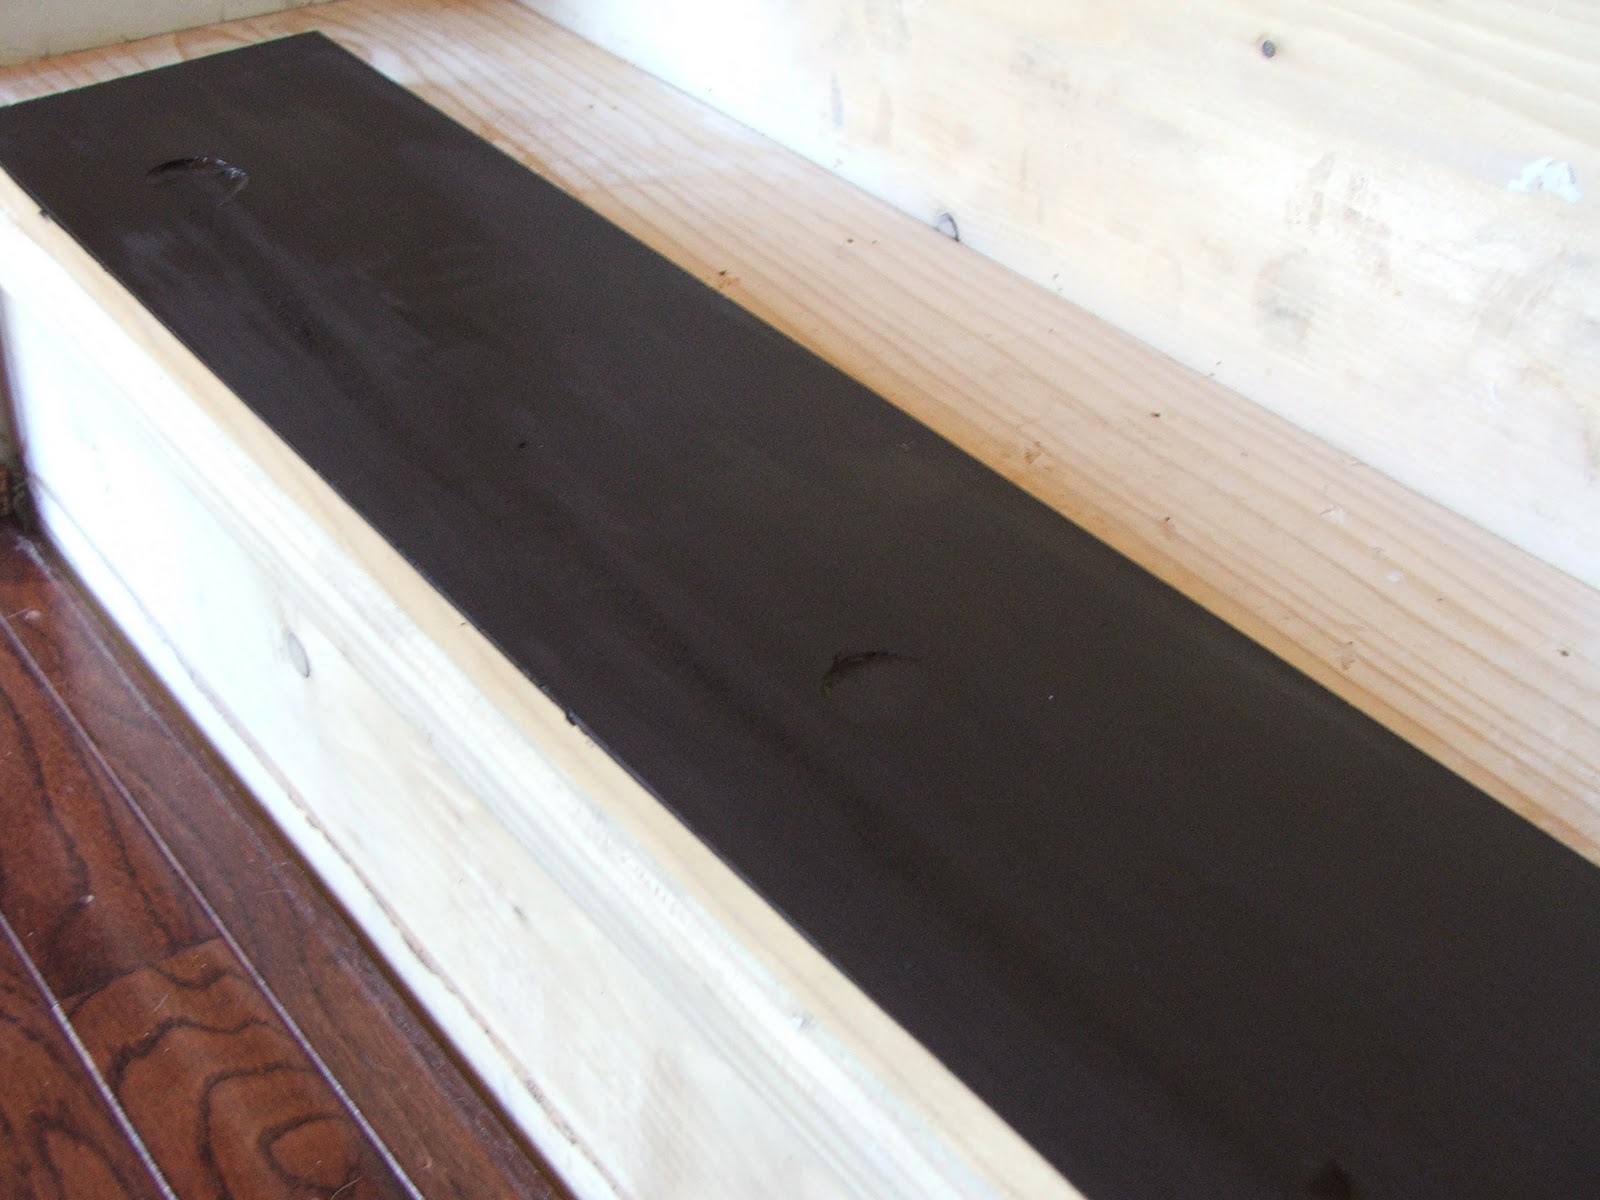
Then I painted the treads with the brown. We loved the color Behr Sweet Molasses, it is a true chocolate color–rich and warm and has lots of character. I bought a quart or eggshell finish.
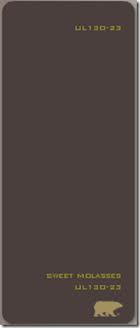
Valspar Signature is a paint and primer in one. I chose Eggshell finish because I am going to be putting 3 coats of polyurethane on the steps and I didn’t want the paint to be so glossy the poly wouldn’t adhere. Perfect for this project. You can find it at Lowes. A quart was plenty for 2 coats on just the treads.
Purdy is really a great brush to use!

I didn’t bother taping since I have to paint all the white anyway. I painted a coat on…let it dry 2 hours (can said I could recoat after 2 hours) and then put on the 2nd coat. We were able to go up the stairs at night. I painted while the kids were at school so it really wasn’t an inconvenience at all.
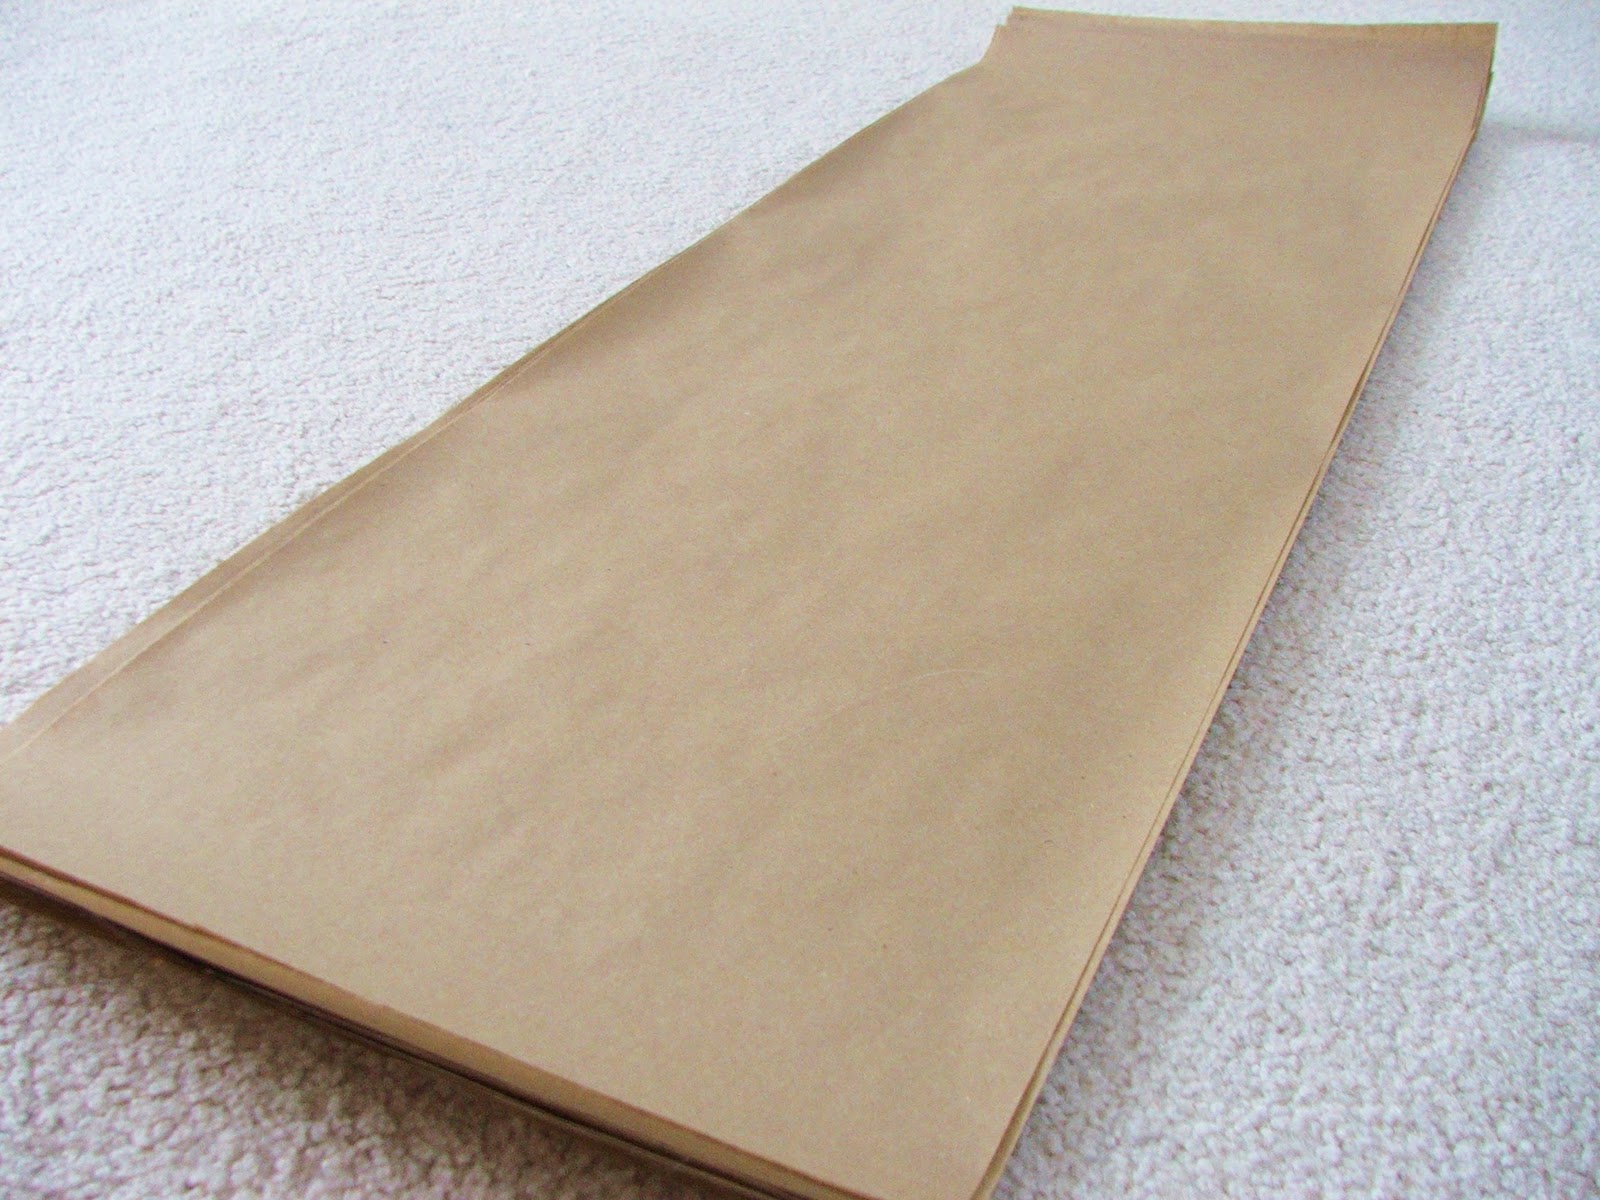
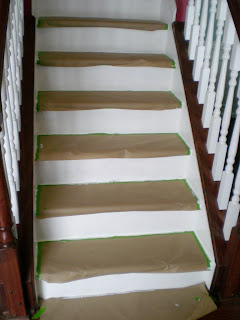
The next day I was able to cover the treads with some craft paper and tape the sides so that I could paint the trim white and the risers. Craft paper is sold in rolls near the paint supplies. I cut it to fit on the stairs.

Frog tape really seals nicely—when you go to take it off it has a nice clean edge.
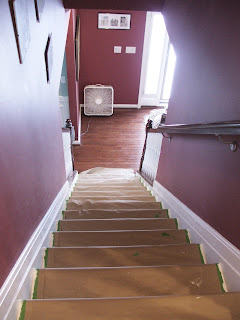
I used a semi-gloss quart of Valspar Signature in White Umber (the color of my trim). I put 2 coats of white on and let dry overnight before taking the paper and tape off. Placing a fan at the bottom of the stairs helps the drying process.
Phase 3 Money Spent:
$30 for 2 quarts of custom mixed paint
$3 roll of Kraft paper
$6 Frog Tape
Grand total Spent so far on Operation Stairs: $70.51
Tomorrow…the big reveal!!!
Sharing today….
Less than perfect life of bliss, A Glimpse inside, All Thingz Related, Today’s Creative Blog, Thrifty 101


Hi, I'm new to your blog, jumped over from Less Than Perfect's blog. I love the stairwell renovation description. I'm thinking of doing our steps too and this helps. I have my own baking blog, if you would like to go over. Its http://www.galexicupcakes.blogspot.com
Consider me a new follower. Jackie Hale.
Beautiful job! What a transformation. Thanks for linking up to my paint color party!
The stairs are looking so good! Keep up the good work! I have thought about doing this….how long has it taken you? Thanks for sharing at the paint party
Looking great Trac! Love it!
It's a lot of work and you are doing great. They are going to be just wonderful.
It looks so good Tracie!
Thanks for linking up!
I'm looking forward to the big reveal.
nice job!
Good for you, love that motivation! Your stairs look great, and it will be a fantastic effect when finished.
I love this!!! You did such a great job and your pics and directions are giving me my final push to redo my carpet covered stairs:) I have been wanting to do them for a couple months, but I have been so intimidated by them. Thanks again for these wonderful posts! ~Angi
What did you do with the carpet at the top of the stairs? I presume you used some sort of carpet bullnose?
Thanks for linking up at DIY Thrifty Thursday! I stopped by to let you know your project was featured as a top 3 from last weeks party! Here is the link. http://thrifty101.blogspot.com/2011/01/diy-thrifty-thursday_19.html
I'm looking forward to phase 4! :)
I just wanted to shoot you a message that DIY Thrifty Thursday @ http://www.thrifty101.blogspot.com is back up and running! I've got a cleaning/organizing linky up now, and DIY Thrifty Thursday will be up Thursday. Hope to see you back there again! :)
Michelle
[…] Phase three /* Share and Enjoy: Filed Under: DIY, Home Decor Projects, Remodeling Tagged With: refinished stairs, revisit […]
[…] have used it a mantle runner, a table “cloth”, a party favor and for it’s intent purpose…to cover my stairs. So I’m sure it will not surprise you when I tell you I have one more way to use it….a tree […]