Freezer paper—have you ever used it? I hadn’t. I assumed it was for just placing things in the freezer—oh how wrong I was! This little craft is so cheap- so fun- so multi-purpose—-your mind will blow with all the uses!!!
I grab a t-shirt—that had already been washed (no fabric softener =) . I used one that I already had. I never really wore it too much—quite frankly it is just way too orange. So, I thought, perfect for a Halloween shirt–am I right?!?!
You will need to following for this craft:

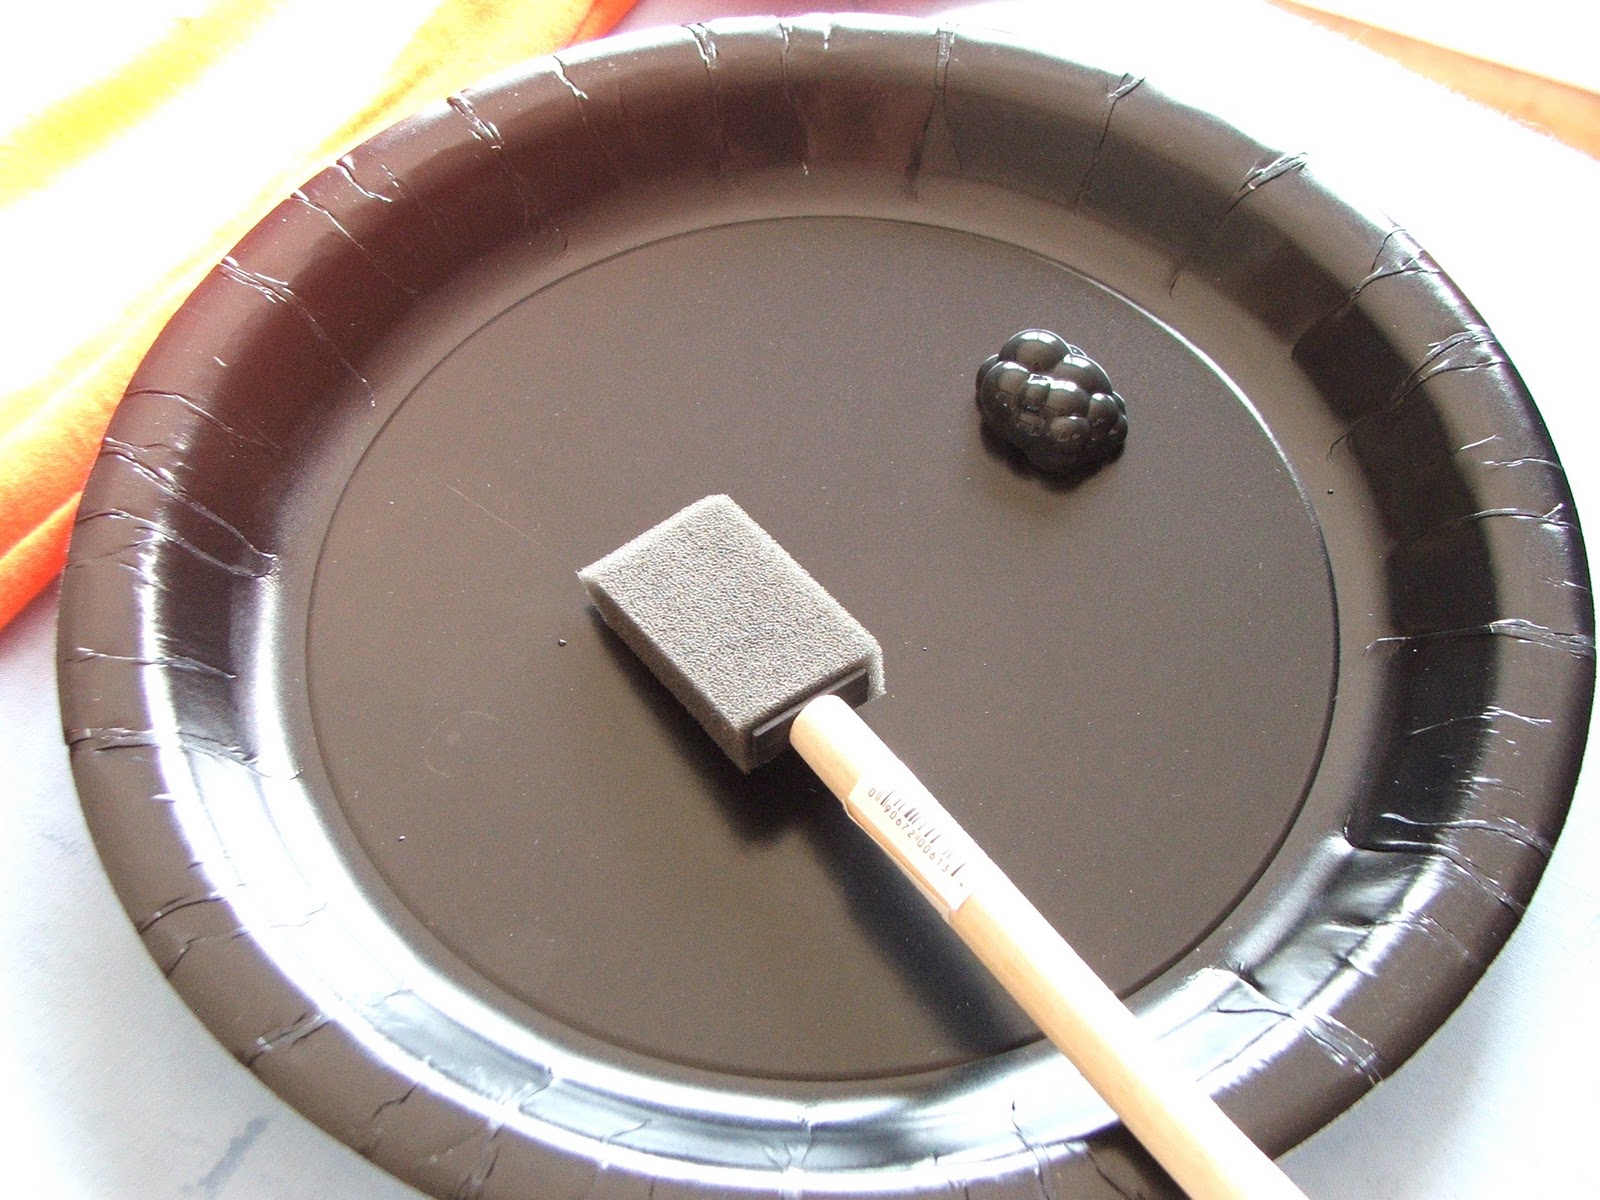
Some Freezer paper, fabric paint, sponge brush, shape of your choice and a washed t shirt. You could also use a cotton tote bag—jeans…etc….see what I mean (you can go crazy with this application—after you see how easy it is!)
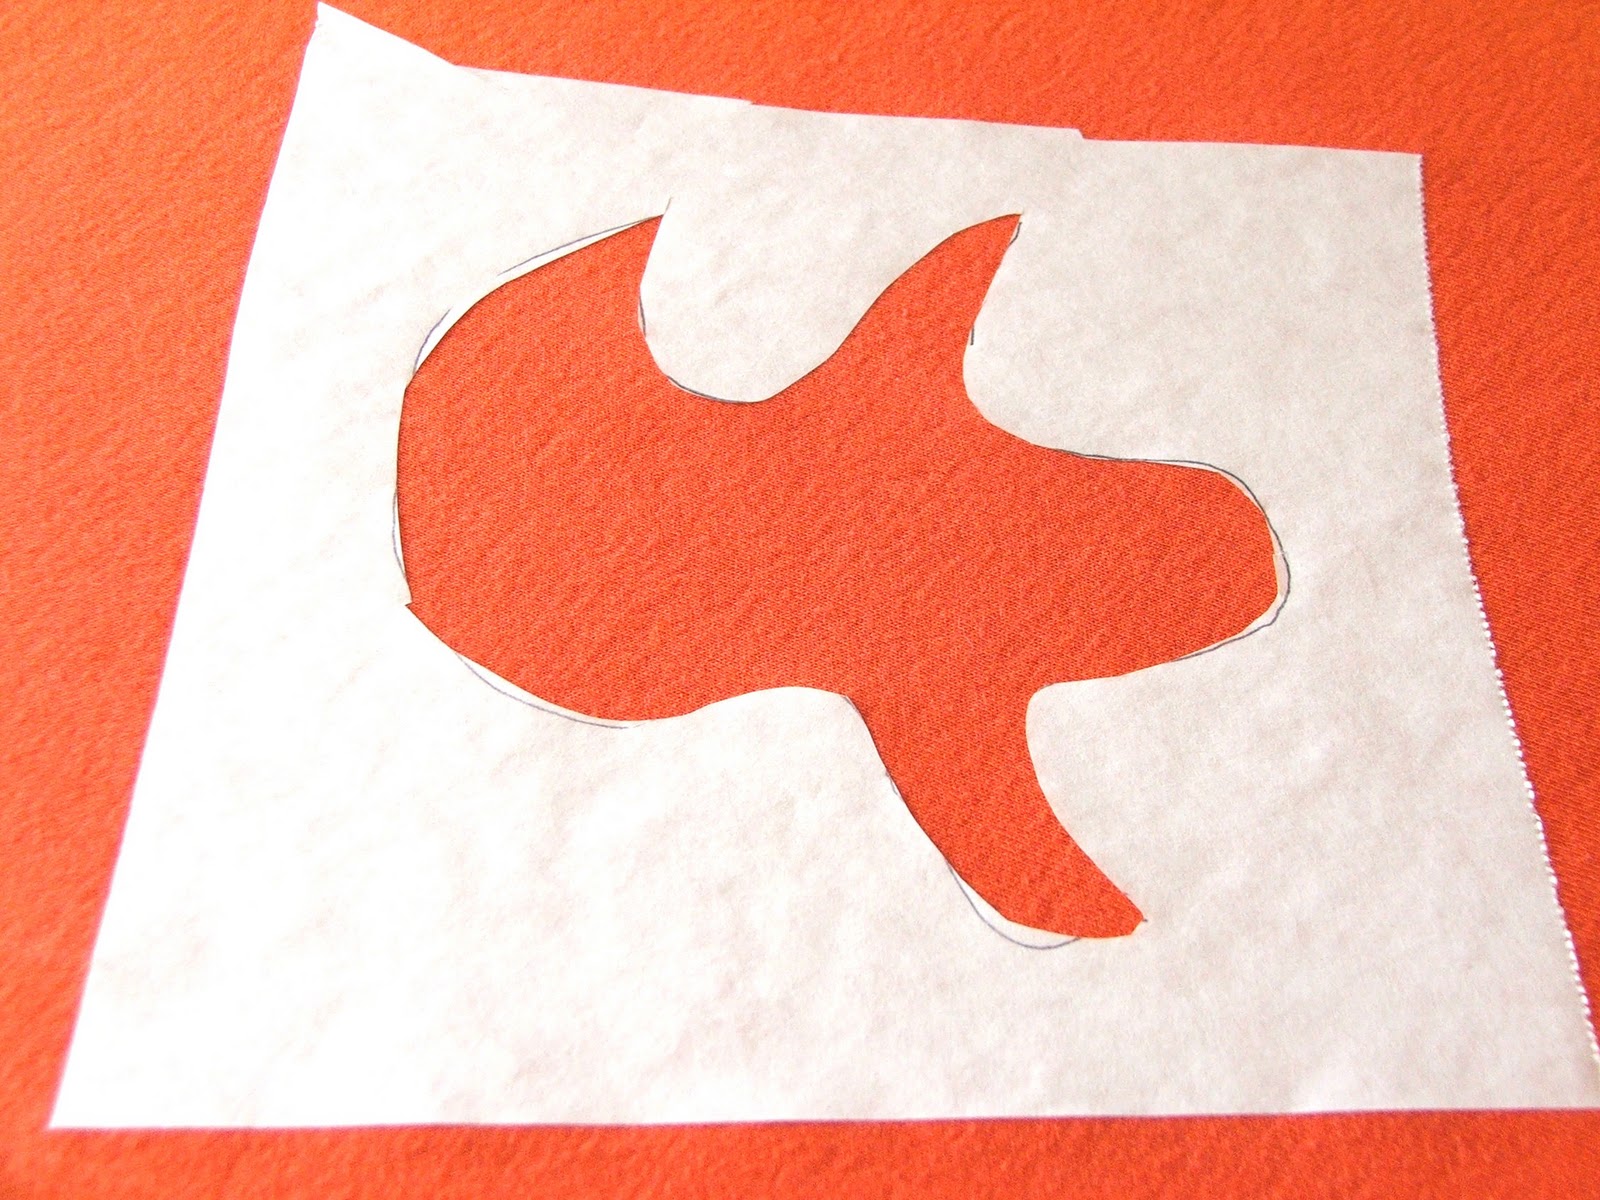
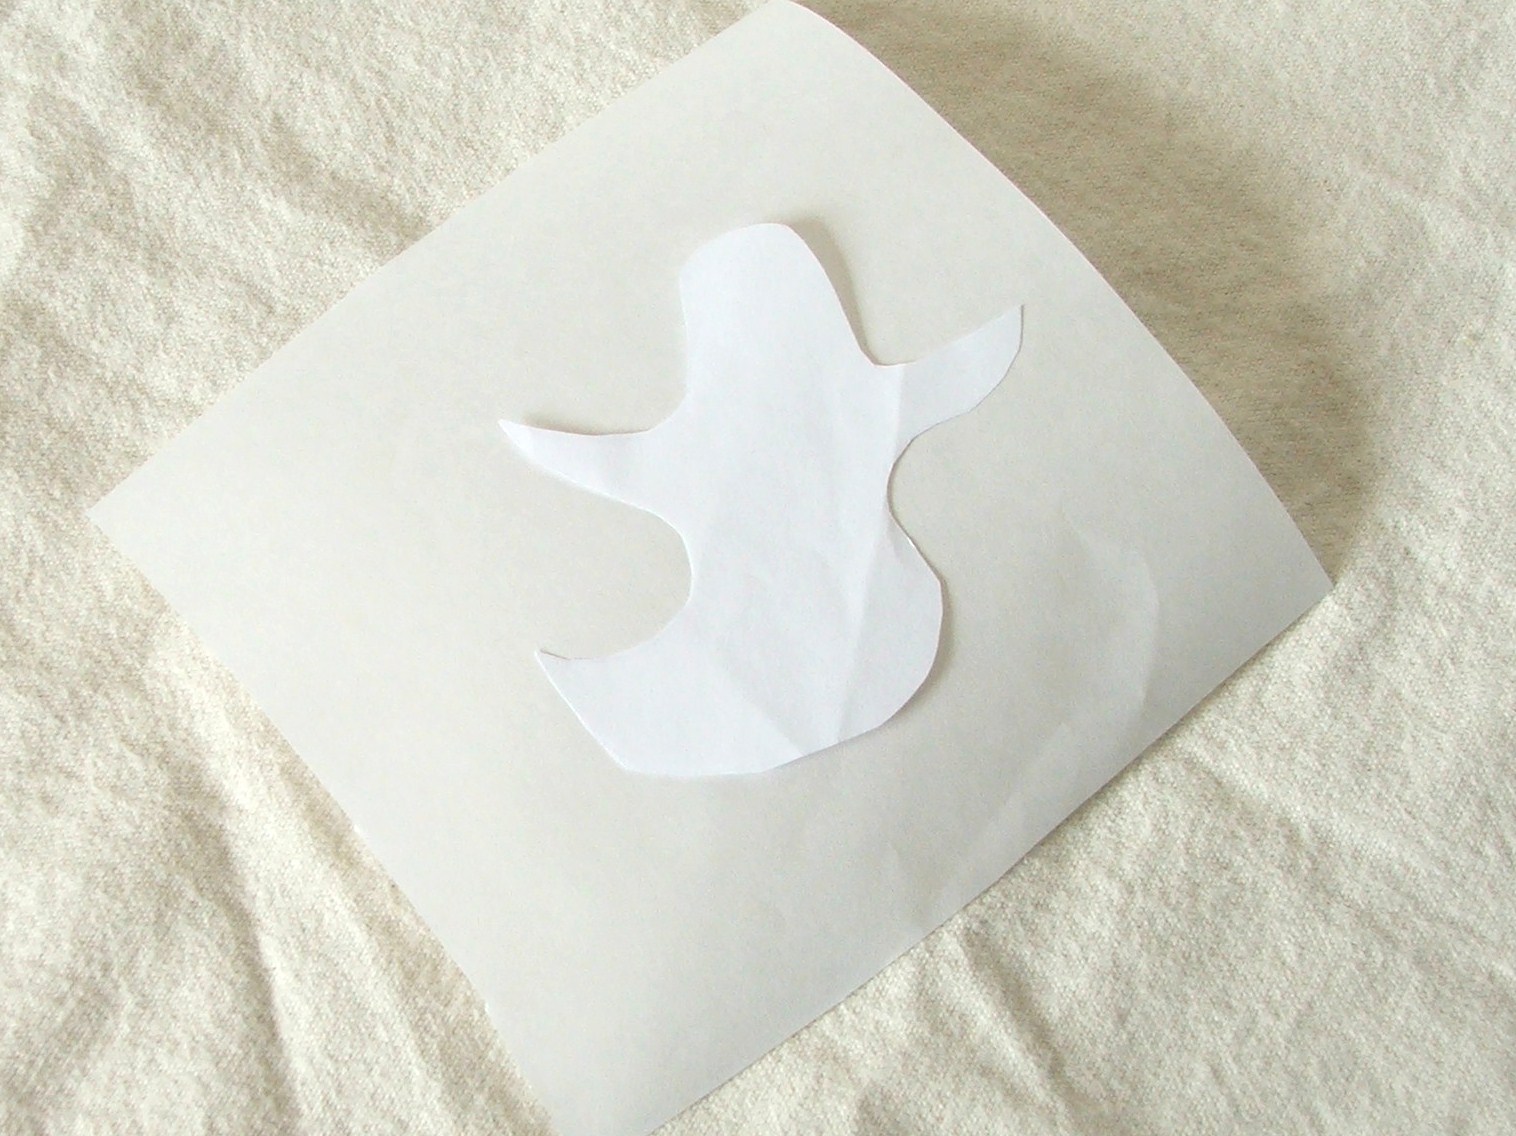
The first step is to find a shape you would like to use. I had a ghost available so that is what I used. Cut out a piece of Freezer paper large enough for your shape.
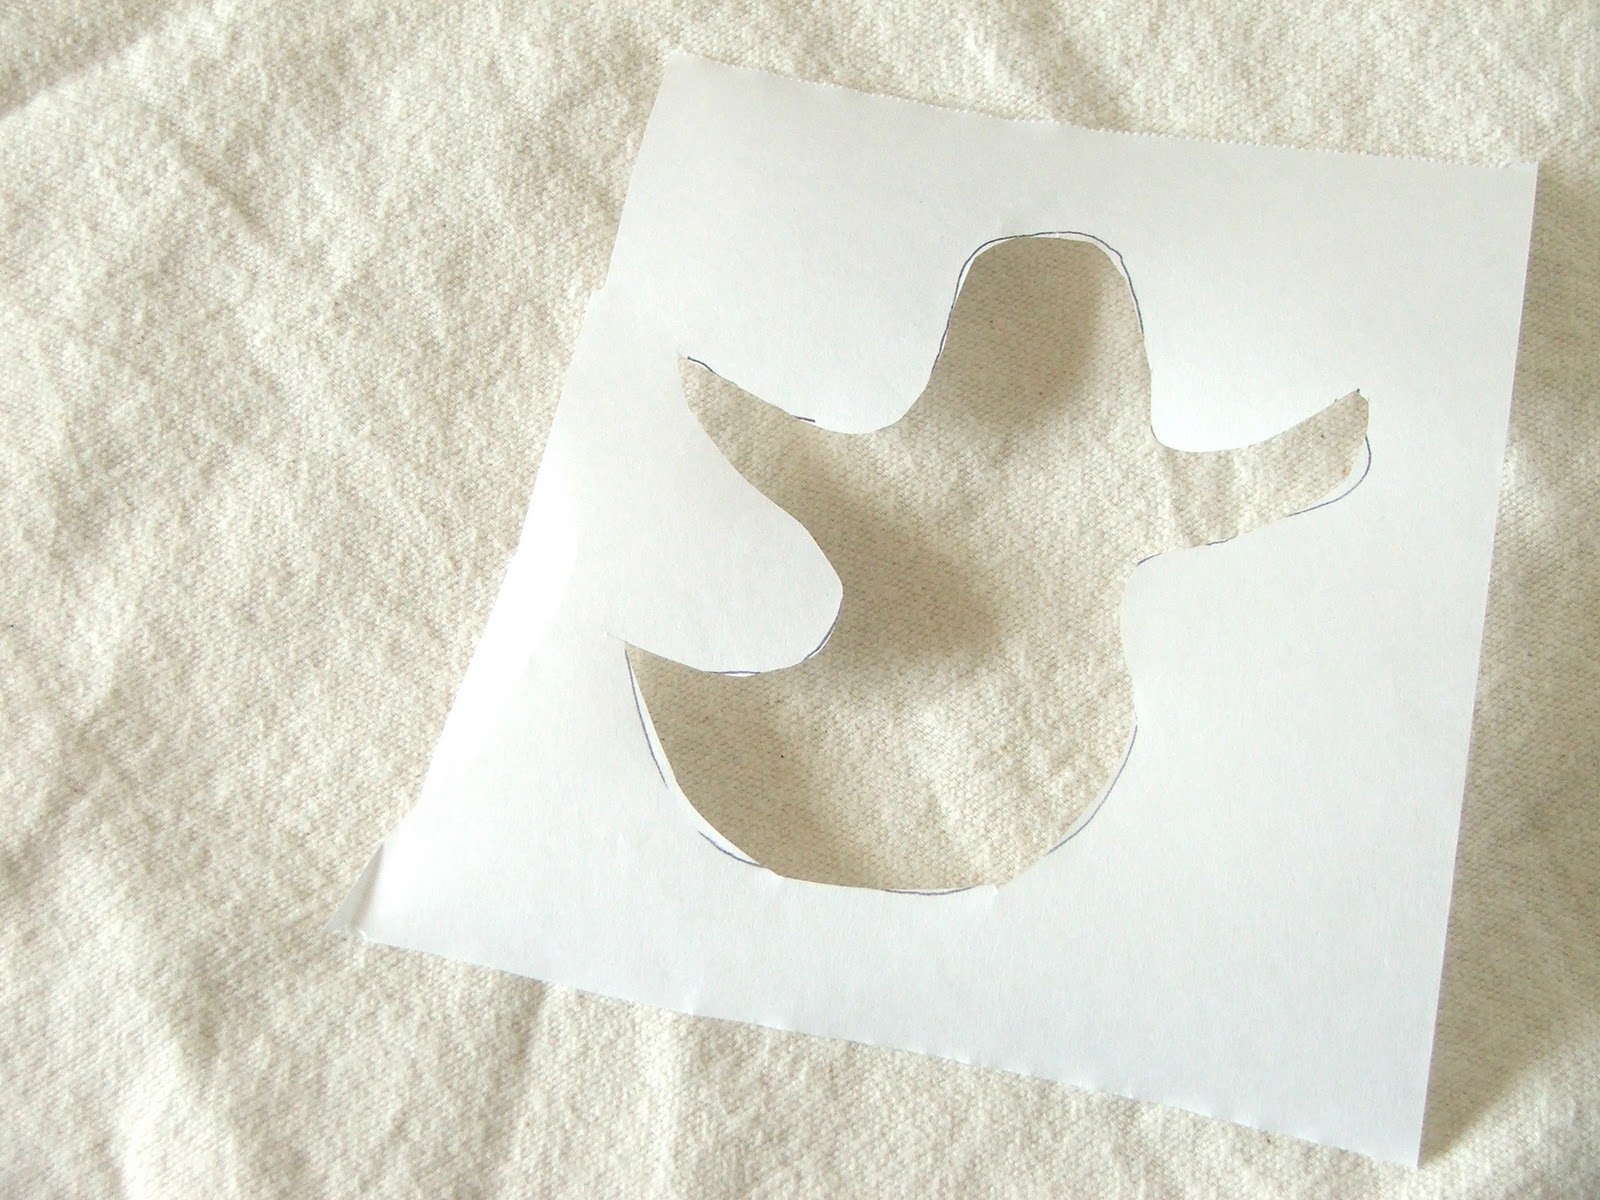
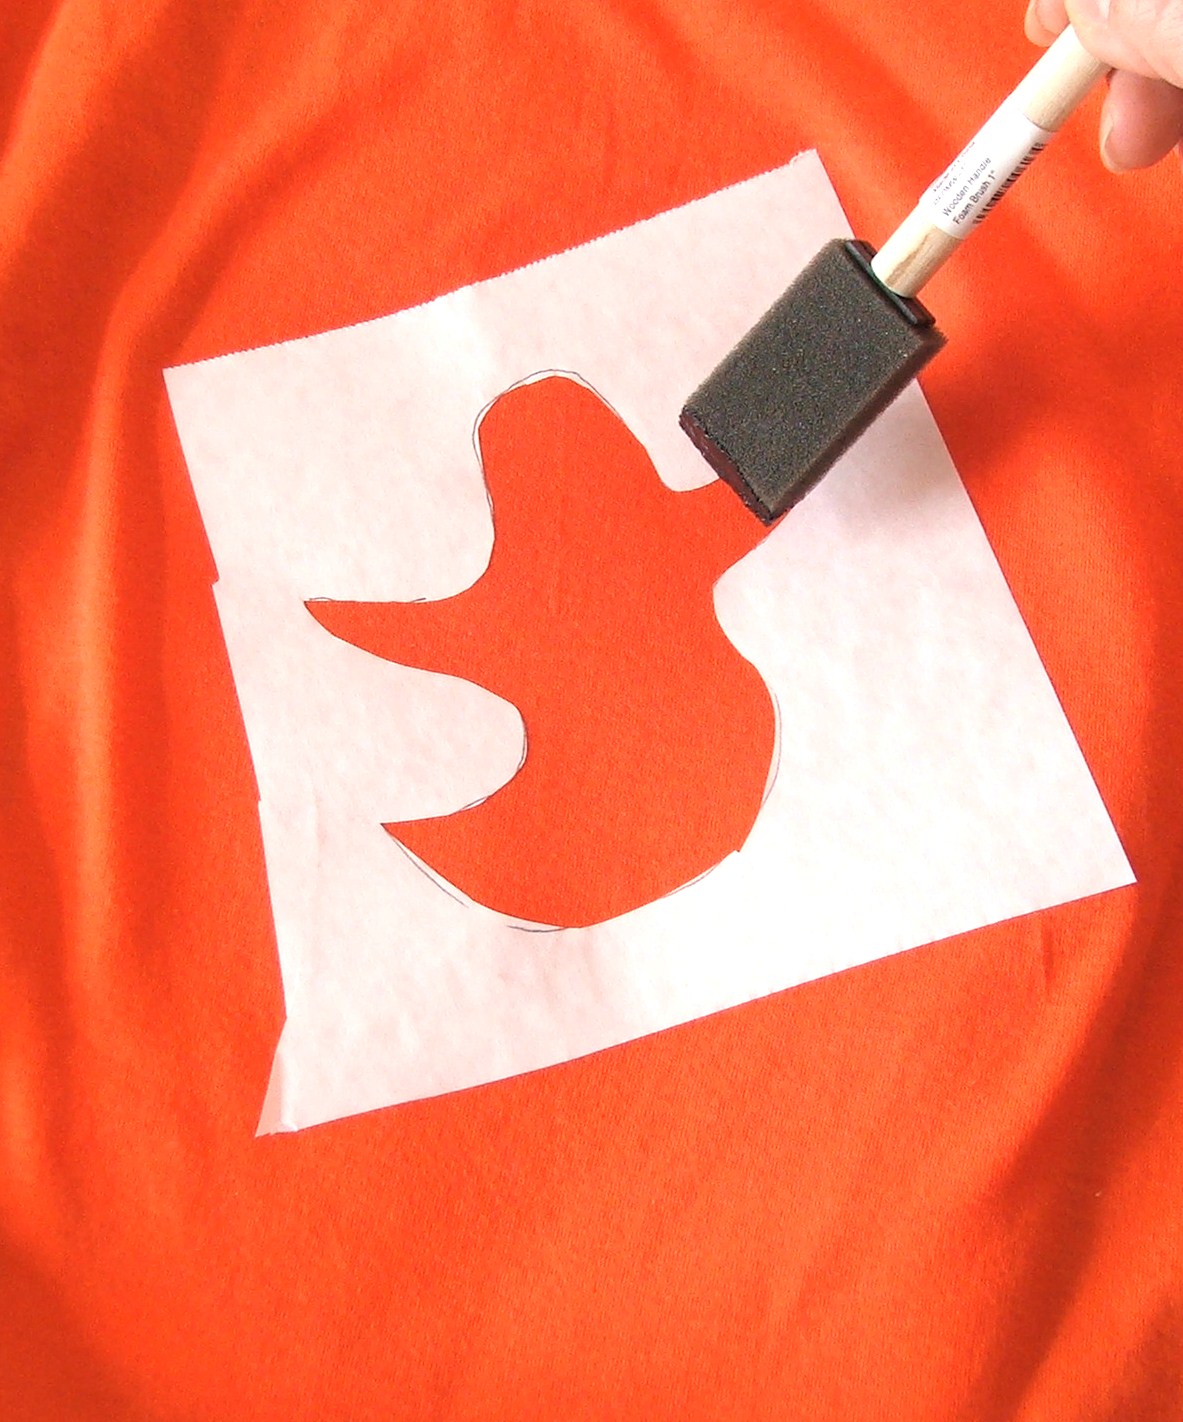
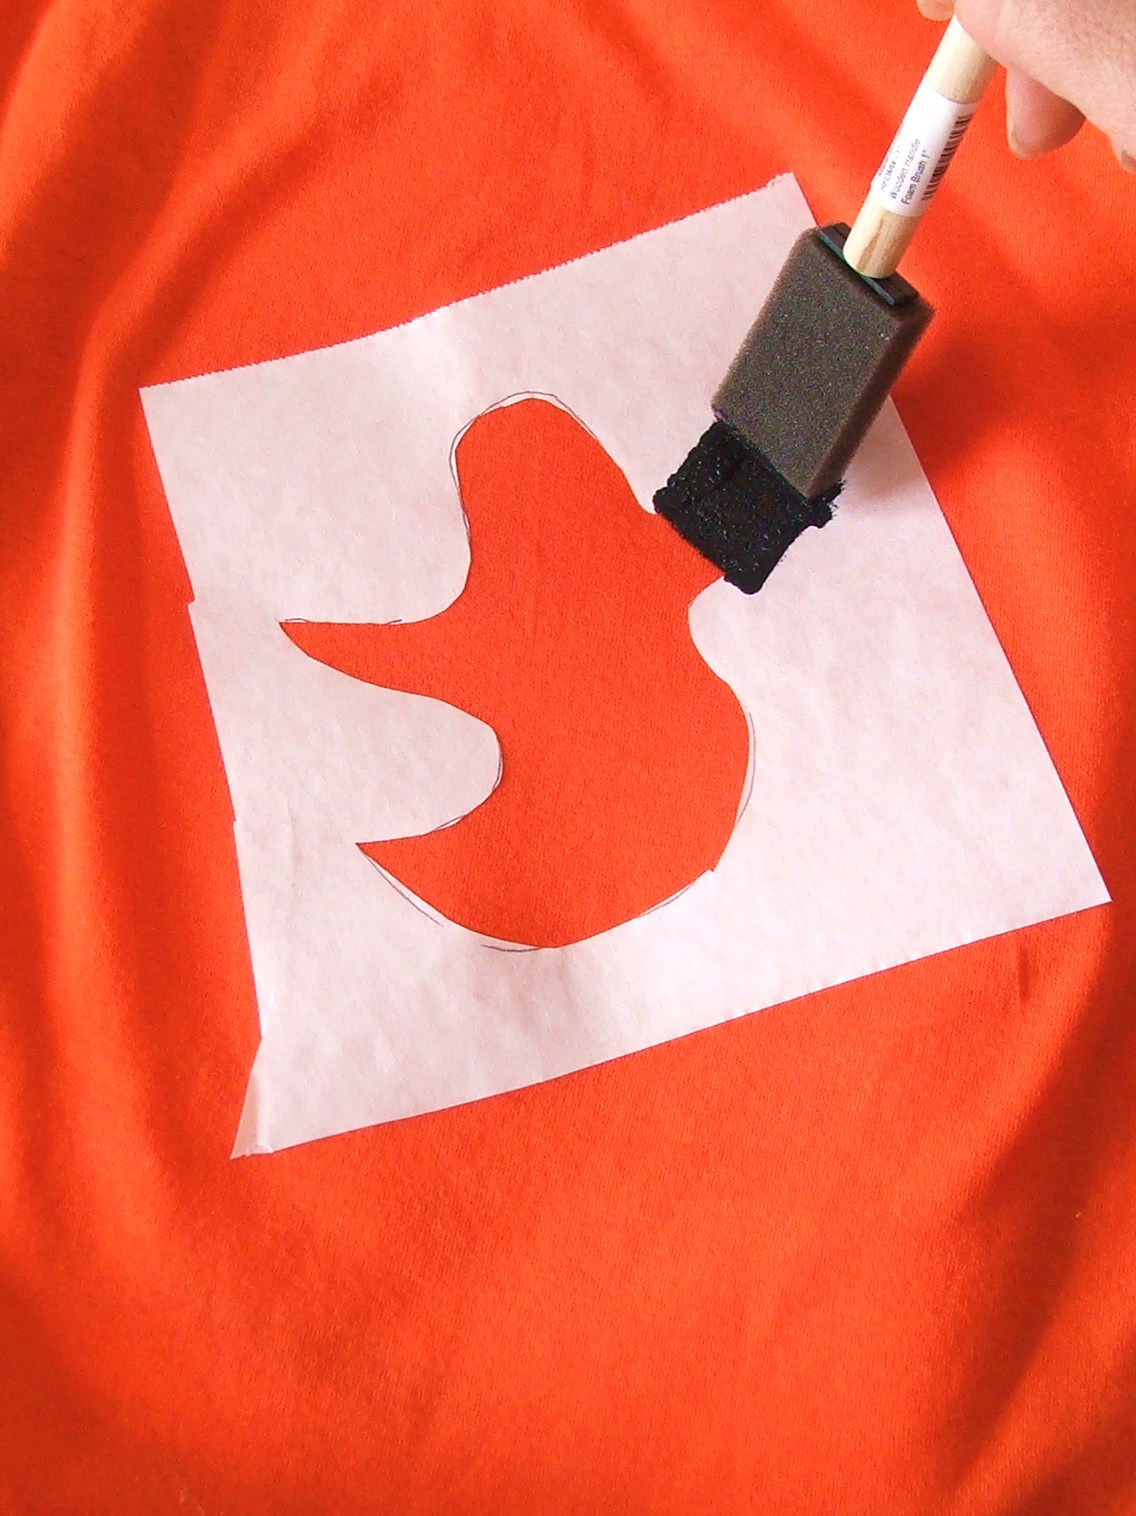
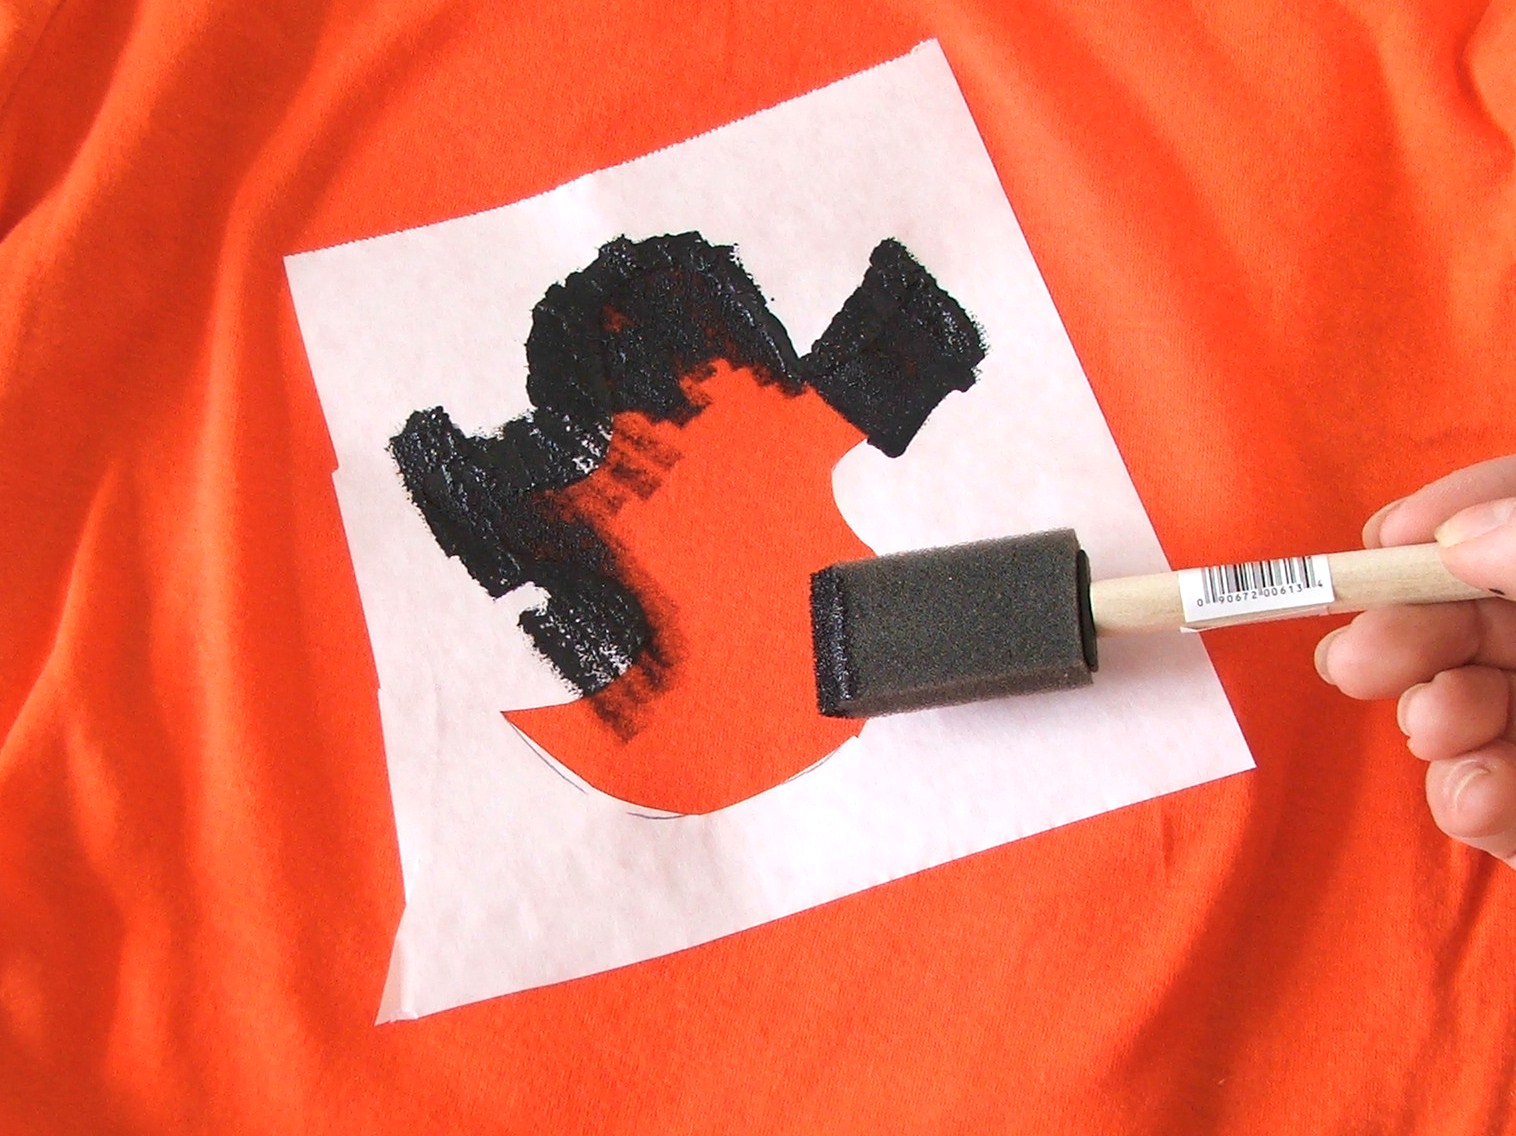
Now, place the stencil on the t shirt where you would like it to be. With a hot iron–adhere the freezer paper stencil (shiny side will be down on the shirt). Run the iron back and forth a few times. Amazing right! I KNOW. The stencil will be adhered to the shirt.